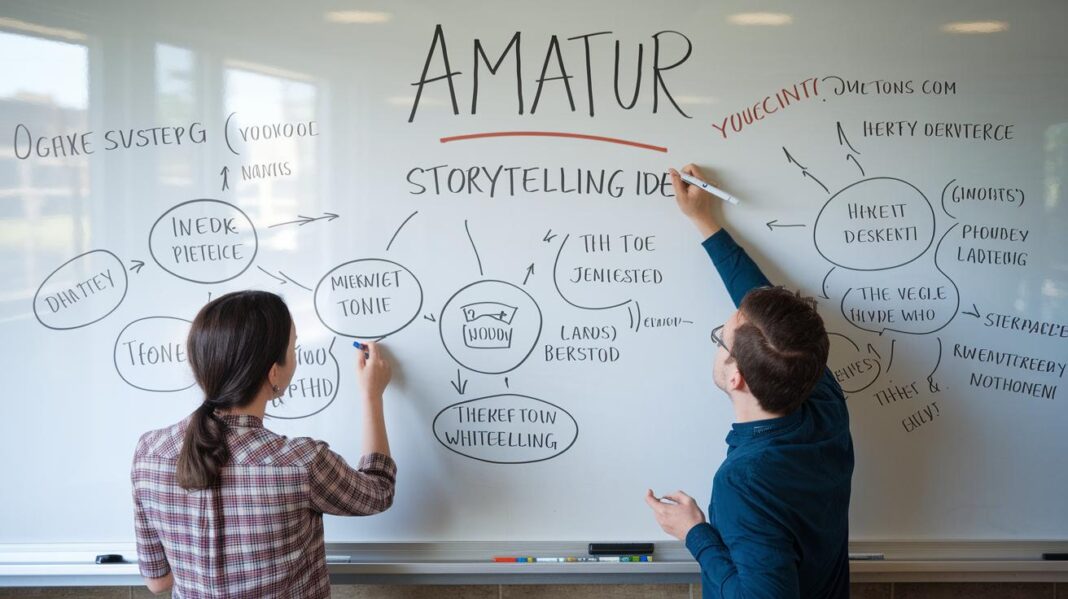
Ever thought your storyboard might take your ideas to the next level? Imagine it as planning a fun road trip, where your readers get to choose the next stop.
This simple guide helps you set up the key moments and choices that keep your story moving. It’s like mapping out a path full of surprises.
In this post, we’ll show you how to boost your creativity and bring your interactive tale to life. Get ready to sketch clear, exciting routes that lead to awesome twists in your story.
Designing an Effective Storyboard for Interactive Narratives

Storyboarding is where your interactive tale begins. It’s like drawing a simple map that shows how a viewer jumps from one scene to the next, making choices along the way. Picture this: you quickly sketch out a key scene with a note like "action starts" or "choice shows up here." It’s a rough outline that sets up the flow and keeps your creative ideas on track.
Start by nailing down the heart of your story. Jot down the must-have scenes and mark those spots where users can pick their own adventure. For example, you might write, "Switch scene – user picks next spot" to clearly picture a branching path.
Keep your early drafts neat and simple. Don’t get lost in too many details at first; use basic sketches and familiar symbols like a clock for timing or an arrow for choices. This makes it easy to see where the story branches and how each decision smoothly leads to the next scene. This easy, flexible approach lets your ideas evolve as your interactive storyboard comes to life.
Visualizing Branching Paths in Your Interactive Narrative Storyboard

Mapping out your story’s branches is super helpful because it shows clear paths for every choice a user can make. When you see every decision laid out, it’s easy to follow the twists and turns without getting lost. This clarity sparks creativity and helps you build stories that feel truly interactive.
Flowchart-Based Structures
Think of a flowchart as your simple guide. Each choice appears as a diamond, like a little sign asking, "Which way now?", and each scene is shown by a rectangle. With these shapes, you quickly see how one choice leads to another. For example, a diamond might prompt you with a "choose ending" option that connects to different rectangles showing unique outcomes. This method keeps your storyboard neat and guides each interactive moment toward a clear finish.
Node Layout Techniques
Another cool way to show your story is by using node-link diagrams. In this style, every node stands alone as its own scene, and the links are like lines joining the dots of user choices. This setup makes it really easy to update your story later, if a scene needs more detail or a simpler touch, you'll see it right away.
- Label decision points clearly with what you expect the user to do
- Use color coding to show the difference between big and small branches
- Group related branches under main nodes for easier reading
- Keep branch levels simple to avoid overwhelming the story
- Mark where branches meet again to keep the storyline connected
Integrating Decision Points and Pacing into Interactive Storyboards

Pacing is super important in interactive stories. It controls how fast or slow the narrative moves so the reader always stays curious and never feels rushed. When your storyboard flows just right, every choice and scene falls into a natural beat that feels smooth and full of energy. It’s like having the perfect mix of loud and soft moments at a live concert.
Timing Your Decision Nodes
Try spacing out decisions every 2 to 4 scenes. For example, after a big event, take a brief pause before tossing in a quick decision in the next scene. This method gives your audience a moment to soak in the impact of one choice before jumping into the next, keeping things dynamic without overwhelming them.
Balancing Impact and Frequency
Big, life-changing decisions should come up only now and then, making them stand out. Meanwhile, sprinkle tiny choices throughout to keep everyone actively involved. Think of it like creating your favorite playlist: a few epic tracks to mark key moments and plenty of quick beats to fill in the gaps. Mark your storyboard with simple notes like “pause here” or “highlight choice” to guide you in keeping that upbeat, smooth flow throughout the narrative.
Tools, Templates, and Software for Digital Interactive Storyboarding

When you're starting your digital storyboard, picking the right tool sets the stage for a project that truly reflects your vision. Smaller projects can shine with simple, web-based apps and free templates that let you quickly sketch your ideas. But if you're planning a bigger production with layered scenes and multiple interactive choices, you'll need robust software that lets you reuse assets, sync with timelines, and rearrange panels on the fly. Imagine it as building a creative puzzle, where every piece adds to your final interactive story.
| Tool | Key Features | Ideal Use Case |
|---|---|---|
| Toon Boom Storyboard Pro | Asset library, timeline | Animation & games |
| Adobe Photoshop | Layered panels, script text | Custom storyboard art |
| StoryboardHero | Web-based, interactive prototyping | Rapid interactive drafts |
| Lucidchart | Flowchart tools, templates | Branch mapping |
| Twine | Node-based branching | Text-driven narratives |
As your project grows, those free templates and basic tools might start feeling a bit limiting. If you catch yourself constantly shifting panels or needing more control over timing and interactive parts, it might be time to upgrade. Investing in advanced software gives you extra benefits like a huge asset library and smoother collaboration tools that streamline your creative process. This upgrade not only refines your digital storyboard but also sets the stage for projects that demand a finely tuned, interactive narrative design.
Refining, Testing, and Iterating Your Interactive Storyboard

Testing your prototypes is a fun and vital way to make your storyboard shine. When you play with clickable versions or simple digital mock-ups, you can quickly spot moments where a branch might leave users scratching their heads, or where the pace just doesn't feel right. It’s like tuning a favorite song, each tweak makes the experience smoother and more exciting.
Next, try a three-step routine to keep improving: first, build a basic prototype that lays out your narrative; then invite a few friends or users to share what they think; and finally, update your storyboard based on their feedback. For example, you might create a rough sketch of your story’s flow. Watch as users interact with it, noticing if some choices seem confusing or too alike. After that, go back and polish the scenes, rearrange them, clear up the decision points, and even cut out extra branches. This cycle of prototype, feedback, and update keeps your branching story clear and engaging, catching those little hiccups before the big show.
Also, remember to keep track of every change by saving drafts with the date. This way, you can easily see how your story evolved and find those specific updates along your creative journey.
Final Words
In the action, the blog post captured how to sketch out the game-changing design steps. We explored drafting rough frames, marking decision points, and spacing choices to guide user-driven stories. The piece stressed the need for a clear visual plan and practical tools while balancing creativity with structure. Your storyboard for interactive narratives can bring your digital storytelling to life, encouraging creative experiments and shared excitement. Enjoy building your story and watching it unfold!
FAQ
What storyboard templates are available for interactive narratives?
The storyboard templates for interactive narratives provide a visual framework to plan scenes, decisions, and transitions. They range from simple paper sketches to free online templates designed for mapping interactive story paths.
What tools can I use as a storyboard creator?
Storyboard creators come in many forms, including online software like Canva, specialized applications with AI features, and traditional storyboard software that allows you to arrange panels and notes for interactive projects.
What examples exist for storyboards in interactive narratives?
Storyboard examples show a mix of rough sketches and structured panels that highlight key scenes, decision nodes, and transitions designed to guide the viewer through multiple interactive story paths.
What are the 7 steps of storyboarding?
The seven steps of storyboarding begin with brainstorming ideas, outlining scenes, sketching frames, planning transitions, noting interactive decisions, reviewing the sequence, and refining details for clarity.
What is an interactive storyboard?
An interactive storyboard is a visual map that outlines scenes and branching points. It depicts how different user choices lead to varied outcomes, ensuring a smooth flow through the narrative.
What are the 5 most important elements of a storyboard?
The five critical elements include clear scene layout, defined actions, smooth transitions, understandable branching choices, and annotations that guide timing and user interaction.
Can ChatGPT produce storyboards?
ChatGPT can help create the framework by generating ideas, suggesting layouts, and guiding the process, but it does not generate fully designed visual storyboards on its own.