
Ever wonder why your live stream sometimes seems a bit off? Crisp Connection is here to show you that a few smart tweaks can make all the difference. Imagine upgrading to a better camera, fine-tuning your encoding setup (that’s just a fancy way of saying you optimize the way your video data is handled), and trusting a solid wired link. It’s like watching a live theater performance where every detail shines.
Picture this: with these simple steps, your broadcast transforms into a must-see event. Every scene bursts with life, and every moment feels crisp and clear, just like the electric buzz of a live show. Stick with us as we guide you through these easy changes that turn your stream into something really special.
Practical Steps to Improve Live Streaming Quality
Imagine hosting a live event where every moment is smooth and clear. It all starts with investing in pro gear, cameras, microphones, and lights that make every scene pop as if a skilled director were behind the lens.
Then, adjust your encoding settings. Balance the bitrate, resolution, and frame rate so the stream flows seamlessly, even if viewers have different connection speeds. For example, setting up at 720p with between 2,500 and 4,000 kbps can work wonders when your network is up to the task.
Next, build your streaming setup on a solid online video platform paired with a content delivery network. Trust a wired connection over Wi-Fi; your upload speed should be at least double your planned broadcast bitrate to keep everything running without hiccups.
Also, turn on adaptive streaming by creating multiple bitrate options. This ensures everyone gets the best quality for their connection. Run a few trial broadcasts to test every bit of your setup, hardware, network speed, and all settings, so you’re ready when it counts.
Finally, keep an eye on real-time analytics to catch any drops in quality quickly. This process, from gearing up to testing and live monitoring, ensures your stream remains sharp, engaging, and full of the electric energy of a live show.
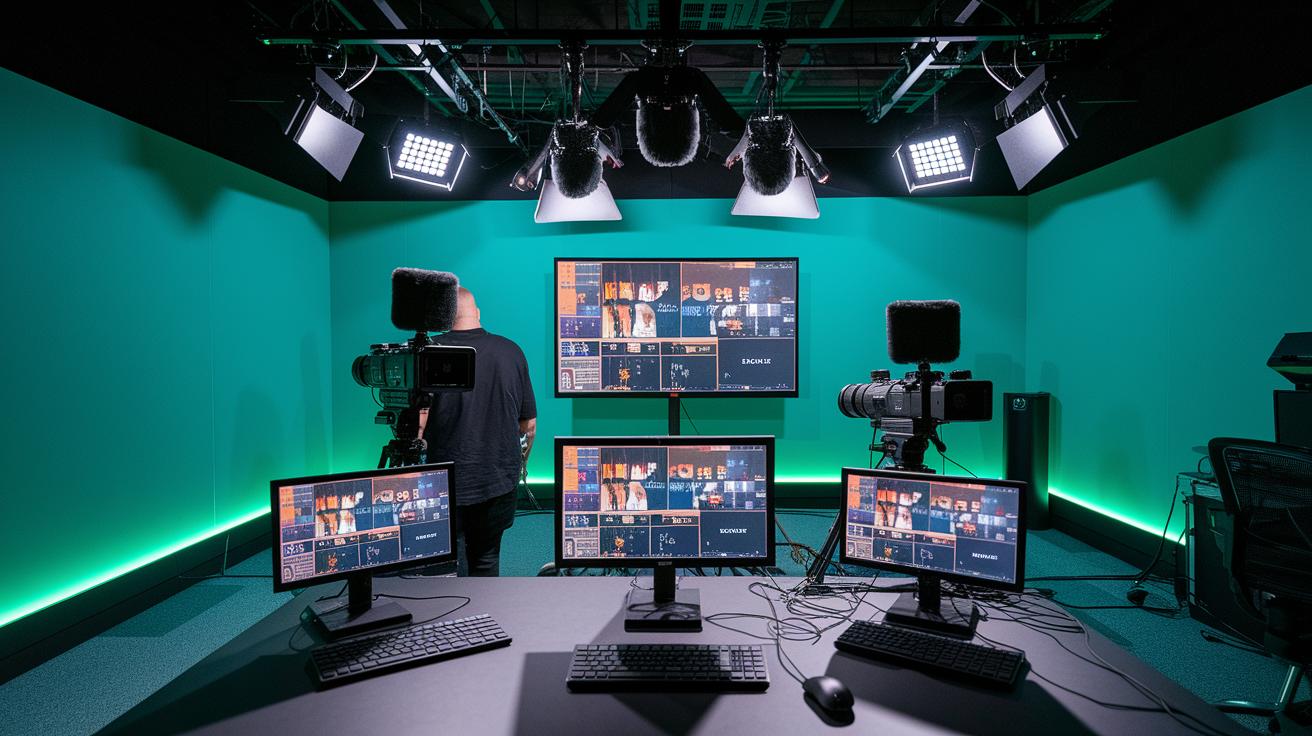
Upgrading Production Equipment to Improve Live Streaming Quality

When it comes to live streaming, having top-notch production equipment makes a huge difference. Upgrading to a professional-grade camera lets you capture crisp, clear images even in low light. One videographer mentioned that switching to a pro camera uncovered details hidden in the darkness, turning a dull room into a vivid digital stage.
And it's not just about the visuals. Using external microphones or audio interfaces like XLR over USB helps cut out unwanted background noise so your audience can catch every word without any trouble. It’s like having a personal sound system that ensures every note and phrase rings true.
Next, smart choices like capture cards and dedicated GPUs ease the strain on your computer during live encoding. This keeps your stream smooth and steady, almost like watching your favorite show without any unexpected interruptions. Tools like hardware encoders from brands such as Elgato or Blackmagic further boost stream stability and reduce frame drops.
Also, quality lighting kits play a big role by eliminating grain and enhancing clarity. They create a bright, inviting atmosphere that makes every live moment look its best, setting the stage for an unforgettable viewing experience.
Configuring Encoder Parameters to Improve Live Streaming Quality
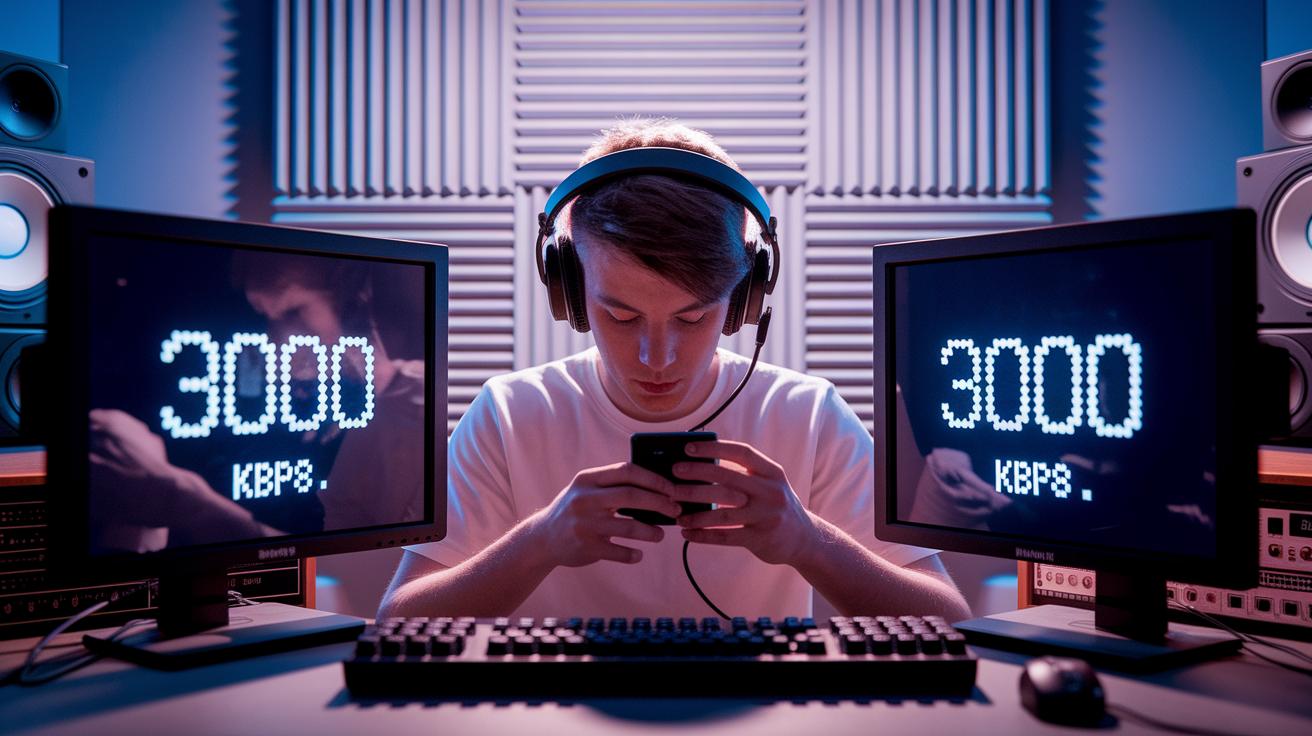
Tweaking your encoder settings is the secret to a smooth, clear live stream. When you adjust your video bitrate, you want it just right. If it's too low, your stream might look blocky; too high, and you could stress out your network. It's like picking the perfect paint mix for a beautiful picture. For example, a bitrate of 3000 kbps can show every little detail, like how a great camera catches every moment at a live concert.
Next up, picking the right codec is super important. Lots of streamers use H.264 because almost every device gets it, while H.265 can save space when you need that extra bit of efficiency. Play around with your CPU and GPU settings, from ultrafast to slow, to find what works best for your setup.
Enabling low latency modes is a smart move, especially if your stream is all about interacting with your audience. And don’t hesitate to turn on multi-threaded encoding; it helps your multi-core CPU work like a charm. Adjusting each slider and menu is like tuning a guitar until it sings just right.
Each setting works hand in hand with the next. So, test out different setups during your practice runs. This way, you can mix the perfect bitrate, codec, and low latency settings to make sure your stream looks awesome every single time.
Managing Network Settings to Improve Live Streaming Quality

When you want your live stream to run smoothly, try switching from Wi-Fi to a wired Ethernet connection. Connecting your device directly to your router gives you a steady, reliable upload speed. One streamer even shared, "Switching to Ethernet nearly cut our buffering in half during peak moments," showing just how effective this change can be.
Next, double-check that your upload bandwidth is at least twice your target bitrate. This extra room lets you handle any sudden slowdowns like a protective buffer. And don’t forget to use your router’s Quality of Service (QoS) settings. This little trick makes sure your streaming data is treated like the VIP it is, grabbing top priority on your network.
Before you go live, take a moment to close any background apps or disconnect devices that might be hogging your connection. Think of it like clearing the stage for the headlining act. It’s also smart to run a quick speed test to confirm your network can handle the load.
If you’re a bit nervous about unexpected outages, consider setting up a backup streaming option. Tools like cellular bonding or a secondary Internet service can kick in automatically if your main connection fails.
- Switch to a wired Ethernet connection
- Adjust your router’s QoS settings
- Close background applications
- Prepare a backup connection
Following these steps can help you dodge buffering, jitter, and frame drops so your live event stays crisp and keeps your audience fully engaged.
Balancing Resolution and Bitrate for Higher Live Streaming Quality

When you're setting up your live stream, it's key to match your resolution with the right bitrate so your video stays sharp without overloading your network. For example, if you're streaming in 720p, using a bitrate of roughly 2,500 to 4,000 kbps will give you a clear, detailed picture without stressing your connection. Think of it like watching a live concert where every instrument sounds crisp and on point.
If you decide on 1080p, you'll need to bump the bitrate up to around 4,000 to 6,000 kbps or even higher to keep everything looking clear, especially during fast scenes.
Adaptive bitrate streaming helps by creating several versions of your stream, like 480p, 720p, and 1080p. This setup means every viewer gets the best quality their internet can handle. Imagine a sports fan watching on a mobile phone who automatically switches to a lower quality version, while someone with a faster connection enjoys sharp 1080p visuals.
Frame rate is another important piece of the puzzle. Going with 60 frames per second works best for fast-moving action, such as an intense game or a vibrant dance show, ensuring everything flows smoothly. But if your content is more static, 30 fps can do the job and also makes things easier for your system.
Here are some points to remember:
- 720p at 2,500–4,000 kbps for balanced quality and performance
- 1080p at 4,000–6,000 kbps or more for richer, detailed visuals
- 60 fps for energetic and high-motion content, 30 fps when scenes are steadier
Make sure each setting fits your network speed and your audience’s device capabilities. This way, your live broadcast stays clear, smooth, and enjoyable from start to finish.
Boosting Audio Clarity to Improve Live Streaming Quality
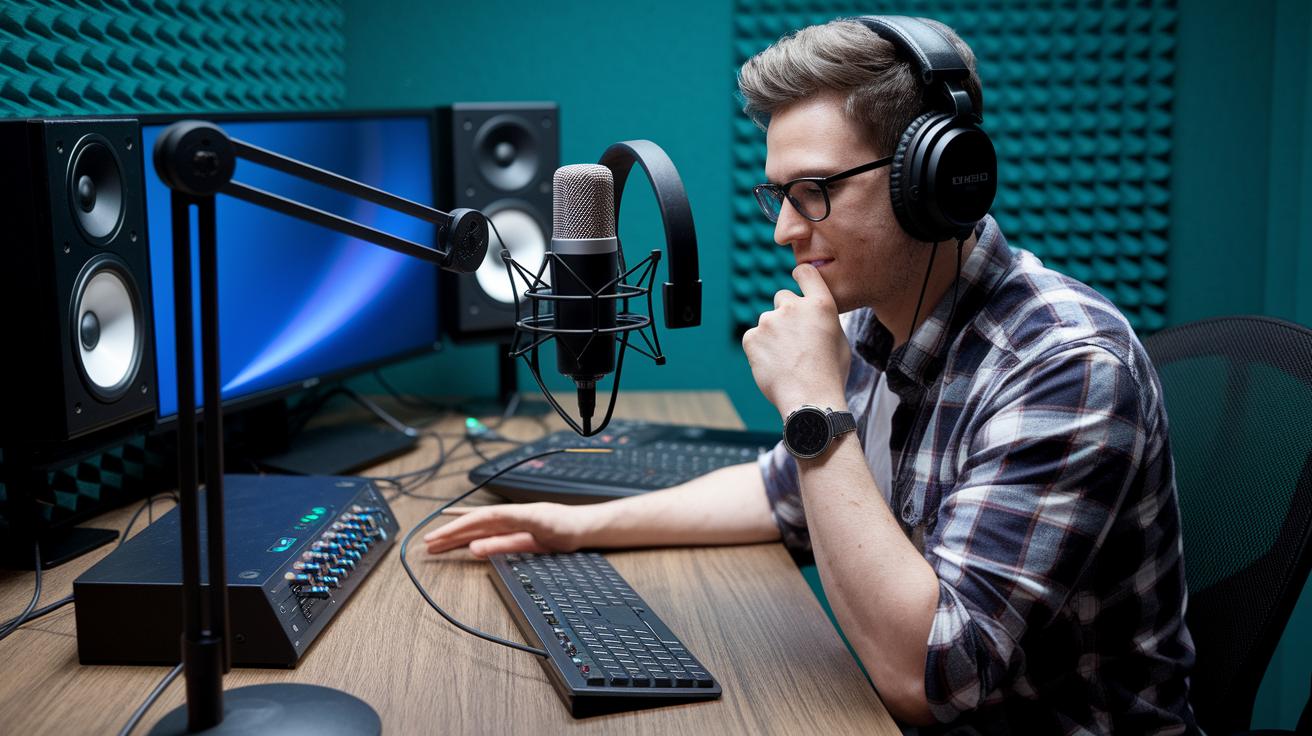
When you’re live streaming, clear sound can really make the difference. First off, grab a reliable XLR or USB microphone with phantom power. In simple terms, this mic picks up all the little details in your voice, making every word count. Next, use a noise gate to cut out any background hiss, and add a compressor to keep your volume steady. An equalizer works like a sound sculptor, trimming the low-end rumble to give your audio a clean finish. One streamer even said that switching to professional audio gear turned their broadcast into a natural, engaging conversation.
Then, be sure to sync your audio and video manually in your streaming software so they match perfectly. Keep an eye on your sound levels in real time to catch any unexpected dips or clipping. And using stable, secure cabling is a must, it stops sudden dropouts that can break the flow of your live session.
Consider these simple steps:
- Use noise gates and compressors to clear up your sound
- Manually sync your audio with your video
- Watch your levels continuously
- Rely on solid, secure cabling
By plugging in these audio tweaks, you’ll cut down on issues and boost your stream’s overall quality. Crisp, balanced sound pairs perfectly with vibrant visuals, making every live moment feel immersive and professional. So, dive in and upgrade your audio to make your broadcast as lively and engaging as your best live performance.
Troubleshooting to Consistently Improve Live Streaming Quality
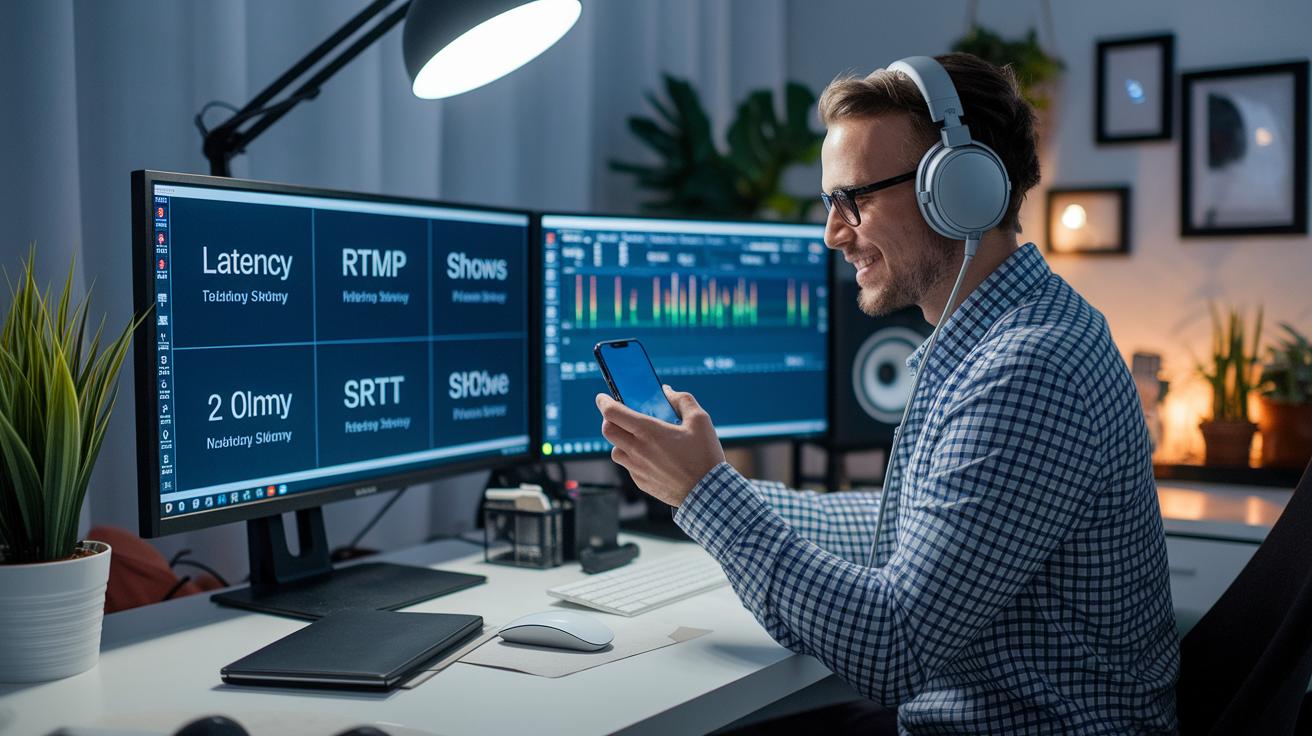
Troubleshooting is the secret sauce that keeps your live stream smooth and full of life. When little issues like dropped frames, jitter, or out-of-sync audio-video pop up, they can really break the vibe. I once heard a streamer say, "I noticed brief stutters during a trial run and tweaked my settings until my feed was flawless." Spotting these hiccups early means you can nip unexpected glitches in the bud.
If your stream starts to look choppy, try adjusting your buffer size. And why not play around with different transmission protocols like RTMP and SRT? Think of it like tuning your favorite guitar until every note strikes perfectly, giving your stream that steady, reliable flow.
Keeping a close eye on real-time quality stats is a no-brainer. Use your platform’s dashboard to track things like dropped frames and sudden bitrate dips. Those live graphs are like a heartbeat monitor for your stream, showing you instantly when something’s off so you can tweak settings, update firmware, or re-encode shaky segments on the fly.
Before going live, run some pre-stream stress tests and try different settings in A/B trials. A quick practice run can reveal issues like lag or sync problems before your audience even tunes in. Here are a few easy steps to get you started:
| Step | What to Do |
|---|---|
| 1 | Test various transmission protocols |
| 2 | Play with your buffer sizes |
| 3 | Update firmware when needed |
By embracing a hands-on approach to troubleshooting, you turn challenges into quick fixes and keep your broadcast running at peak performance. Regular check-ups mean every live event stays as crisp and exciting as the last.
Final Words
In the action, we broke down steps like picking the best gear, fine-tuning encoder settings, and managing network connections. You learned how to balance resolution with bitrate and nurture clear audio for a smooth stream. We also covered quick fixes to keep your live content running strong. All these tips answer how to improve live streaming quality, setting you up for many wins. Stay curious, keep experimenting, and enjoy every seamless broadcast moment.
FAQ
FAQs
How can I improve live streaming quality on my TV, laptop, or as seen on Reddit?
Improving live streaming quality on any device means checking your hardware, setting the right resolution and bitrate, using a wired connection when possible, and testing your stream to avoid lag and buffering.
How can I improve streaming quality in OBS and increase its bitrate?
Improving stream quality in OBS is all about fine-tuning your settings—adjust your bitrate, resolution, frame rate, and encoding presets while enabling low latency to boost performance.
How can I enhance my stream quality and bitrate on Twitch?
Enhancing Twitch stream quality involves optimizing your bitrate and resolution based on recommended settings. Adjust your encoder parameters to reduce pixelation and buffering for a smoother viewer experience.
How can I improve the quality of my YouTube live stream?
Improving YouTube live streaming quality means choosing a proper resolution and bitrate, using stable encoder settings, and ensuring a strong, stable internet connection to prevent buffering.
Is there a way to improve streaming quality and make a high-quality live stream?
Yes, you can enhance streaming quality by checking your production gear, network setup, and encoder configurations. Testing your settings before going live helps deliver clear visuals and crisp sound.
What is the best resolution for live streaming?
The best resolution usually ranges from 720p at about 2,500–4,000 kbps for standard clarity to 1080p at roughly 4,000–6,000 kbps for sharper visuals during fast-action content.

