
Ever wonder what turns a plain broadcast into a live streaming event you can really feel? It all begins with having the right setup. Picture your live stream like a live stage show where every part, your camera, sound, lighting, and internet connection, plays an important role. In this guide, we’ll walk you through each piece of equipment so you can set up a high-quality broadcast easily. Get ready to take your streaming from basic to brilliant without getting tangled up in confusing gear choices.
Live Streaming Basics for Beginners: Essential Setup Overview
Getting started with live streaming is all about dialing in three must-haves: your camera, your audio, and your lighting. Pick a solid camera, think mirrorless with a clean HDMI output, that captures crisp, clear visuals. And don’t forget your audio! A quality mic means your voice comes through loud and clear, drawing your audience in like the buzz of a live concert.
A steady internet connection is just as important. With an upload speed of at least 5 Mbps, you’ll dodge pesky buffering and keep your stream smooth. In fact, nearly 30% of online viewers tuned in weekly to live streams in Q4 2023. A reliable connection puts you right on par with popular live broadcast setups.
| Essential Gear |
|---|
| Camera |
| Microphone |
| Lighting |
| Internet |
| Software |
All these parts come together to create a seamless live streaming experience. Your camera nails those rich, detailed visuals while the microphone makes sure every word lands. The right lighting sets the perfect vibe, and the software brings everything together like the different beats of a great track. And with a rock-solid internet connection backing you up, your live stream has the foundation to shine, even if it’s your very first time on air.
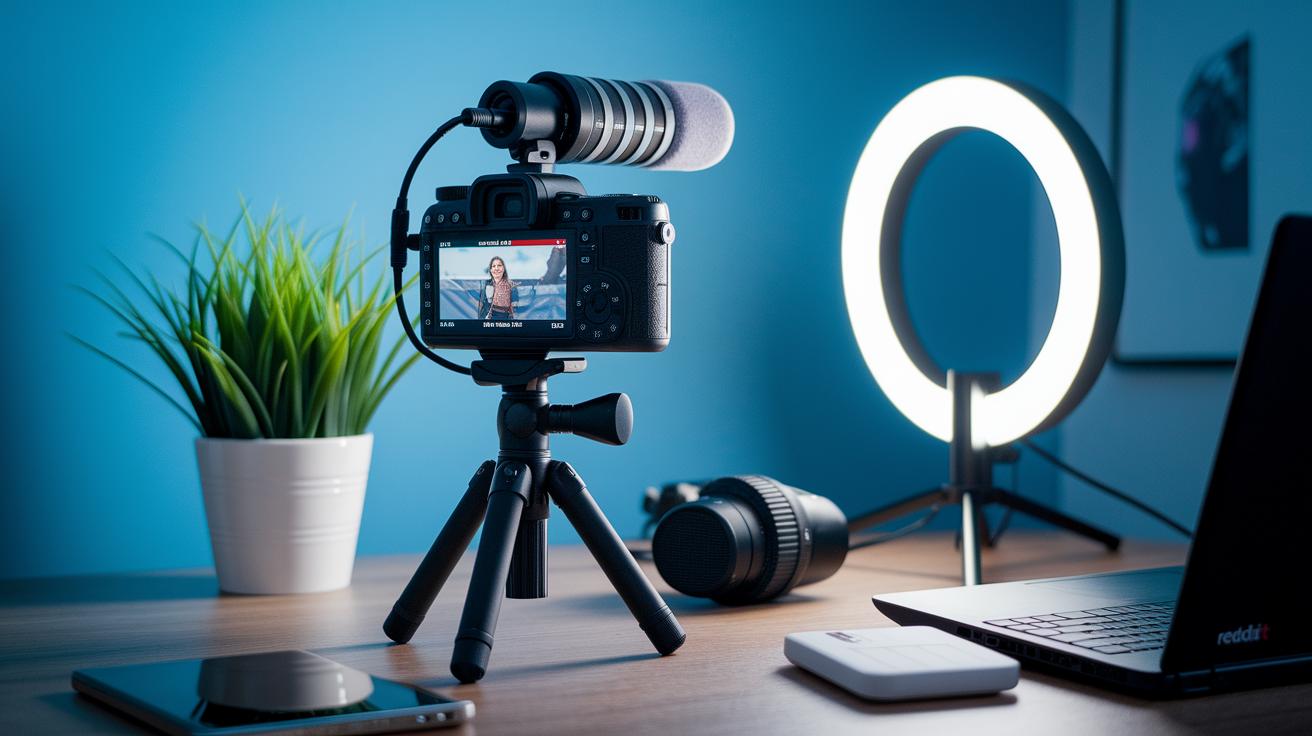
Choosing Entry-Level Live Streaming Gear: Cameras, Mics, and Lighting
Getting into live streaming is all about using gear that's simple to set up while giving your broadcast a clear, polished look. Whether you're hosting a quick show or a longer session, starting with the right tools can help your stream sound and look top-notch.
Cameras
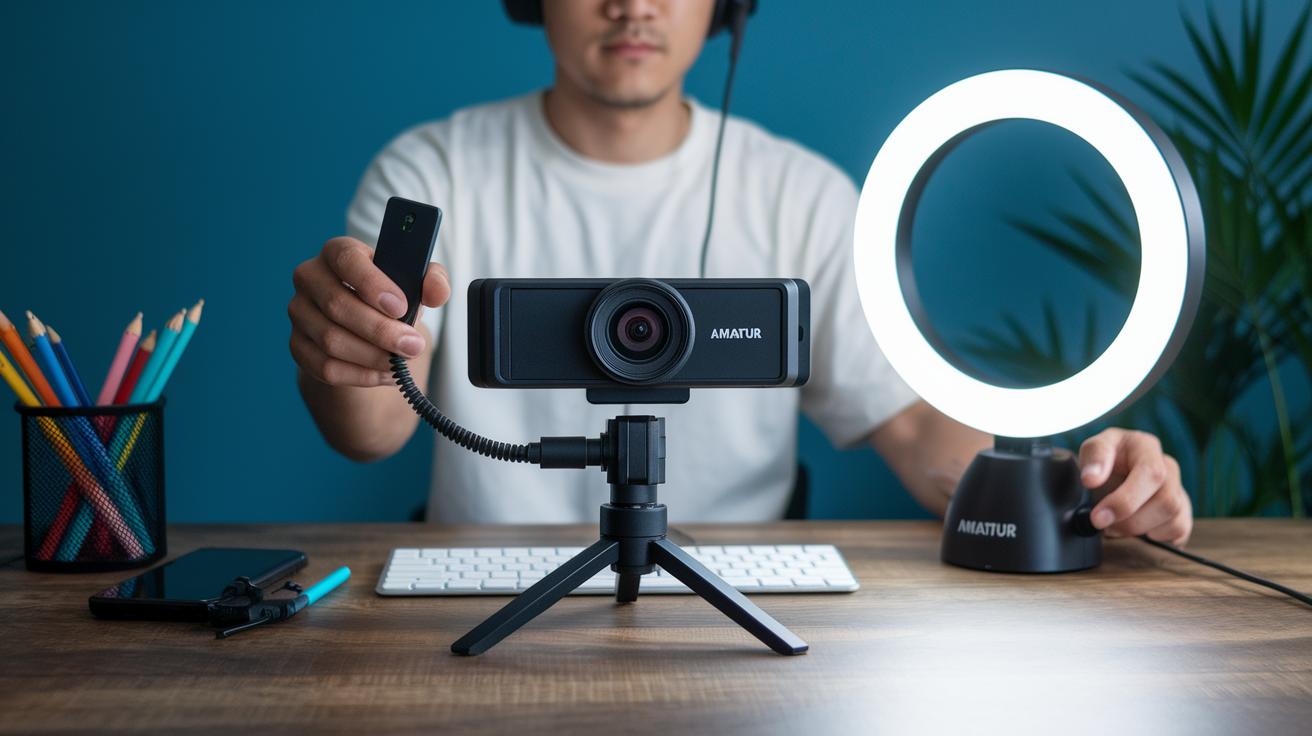
A solid camera can really change the game for your live streams. Consider a mirrorless camera with a clean HDMI output, this means you'll get crisp visuals that beat what a regular webcam can offer. Imagine trading in a basic webcam for a mirrorless camera; it's like going from a rough sketch to a bright, full-color picture.
Microphones
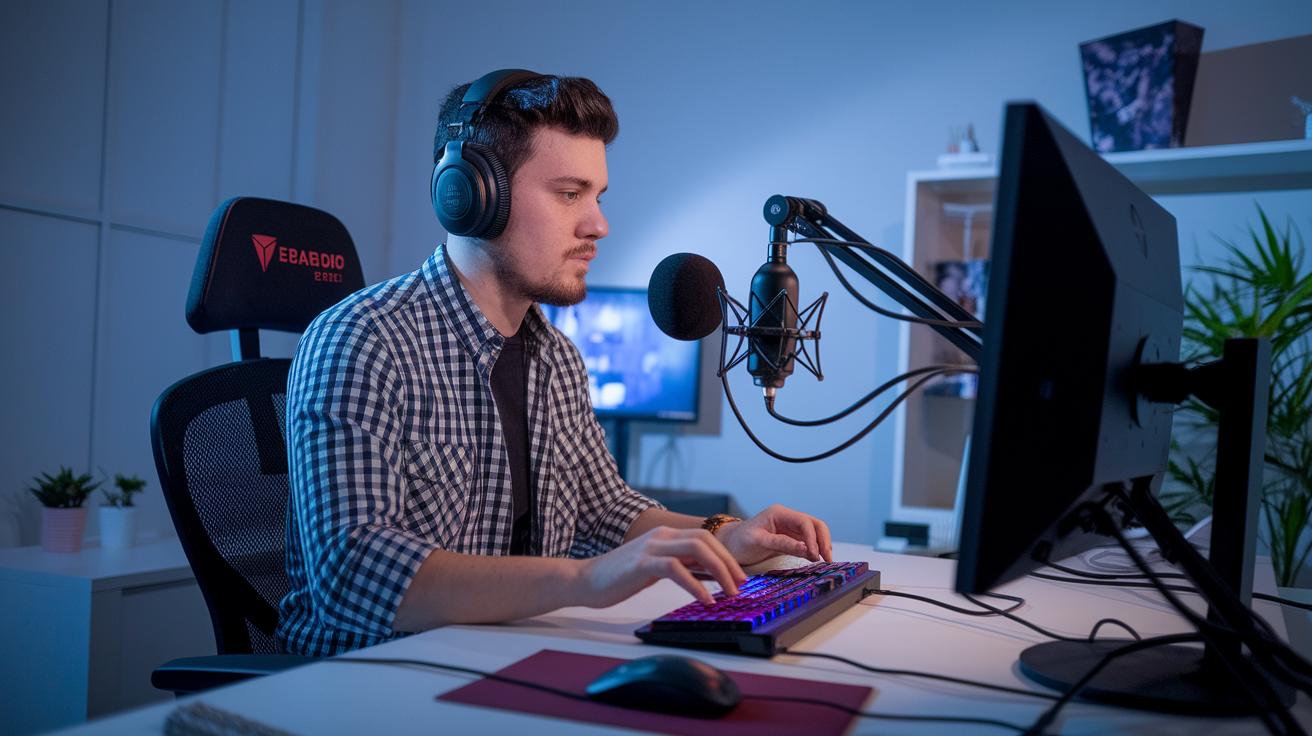
Great sound draws people in and makes your stream feel personal. With an external USB mic like the Audio-Technica AT2020+ USB or Shure MV7i, you capture your voice without the usual background buzz. It’s as simple as plugging it in and speaking, and suddenly, your broadcast sounds as clear and rich as a live acoustic performance.
Lighting
Lighting is key to setting the right mood for your live session. A three-point lighting setup, using adjustable LED panels, can light up your face evenly while giving you a neat background separation. Picture placing one light at a 45-degree angle to highlight your features, a second to soften any shadows, and a third as a backlight to outline your presence. This setup creates a vibrant, inviting frame that makes your stream really stand out.
Software and Encoding Settings Fundamentals for Beginners
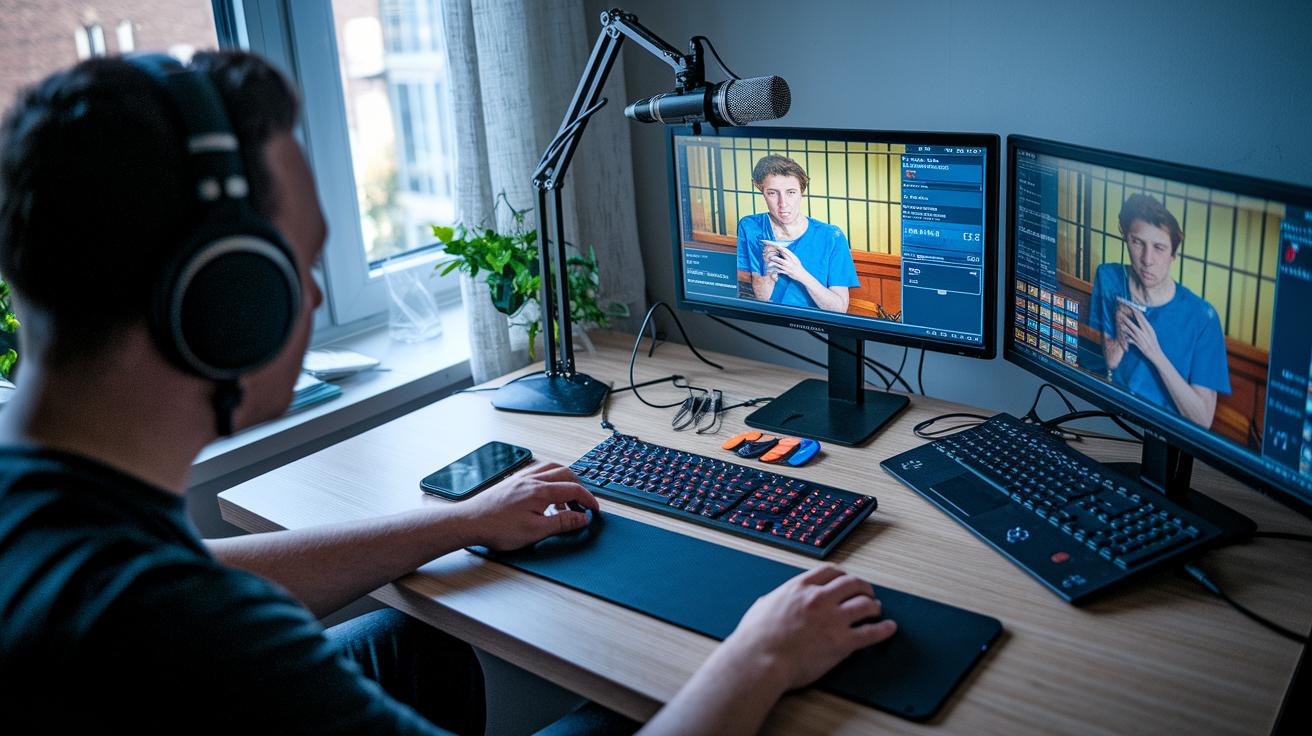
When you’re starting out with live streaming, picking the right software is key. You need a tool that matches your vibe and skills. OBS Studio, which is free and open-source, lets you mix different video and audio sources so you can design your stream just the way you imagine it. And if you prefer to keep things simple, browser tools like StreamYard or Restream come with easy, friendly interfaces that help you jump right in without fussing over extra hardware or confusing add-ons.
Software Platforms
OBS Studio is a favorite because it gives you total control over every input, so your broadcast looks exactly how you want it. But sometimes, you might want to skip the technical setup and dive straight into the fun part, creating content. That’s where StreamYard and Restream shine; they simplify the whole process. They’re perfect if you just want a slick, straightforward way to go live without having to worry about the little technical details. Every platform brings something special to the table, letting you shape your broadcast into an authentic reflection of who you are.
Encoder Configuration Settings
When you’re ready to show your video to the world, your encoder settings make a huge difference. Many beginners start with a software encoder on their PC, though that might mean you need a capture card. Alternatively, mobile app encoders or separate hardware tools can work great too. A good starting point is to set the resolution to 1280×720, aim for 30 frames per second, and use a bitrate of about 3000 Kbps. These settings typically provide a clear, smooth video that won’t break if your internet isn’t super fast. It’s all about balancing quality with performance so that your stream looks professional right from the start.
Before you go live, spend a little time testing your setup with a private stream. It’s like doing a dress rehearsal, you get to see everything in action and make any quick tweaks, so you feel ready when the real show begins.
Internet and Connectivity Essentials for New Streamers
When you’re diving into live streaming, picking the right connection is a game changer. Using a wired Ethernet cable beats Wi-Fi any day because it cuts down on lag and those frustrating dropped frames. Imagine your stream cruising on a smooth, well-maintained road where every little bit of data arrives right on cue. This steady connection means you can focus on making cool content instead of wrestling with tech issues.
Upload speed matters a ton, too. For a 720p stream at 30 frames per second, aim for at least a 5 Mbps upload speed. This way, your broadcast keeps its spark, smooth and clear without that irritating buffering that can pull viewers out of the moment. It’s like giving your stream the fuel it needs to run strong all night long.
And don’t forget to keep an eye on your network performance. Most operating systems come with built-in tools that show you real-time bandwidth speeds right before and during your live session. Spotting any sudden drops helps you adjust things quickly, ensuring your stream stays as smooth as a live beat at your favorite concert.
Step-by-Step Guide to Configuring Your First Live Stream
Starting your first live stream might seem a bit nerve-wracking, but it’s really as simple as following a fun checklist. Think of it like setting up your favorite game night, you connect your devices, set the mood, and then let the action begin.
First, hook up your video and audio devices to the encoder. This is like setting the stage; without a proper foundation, there’s no show. Next, tweak your screen layout and settings so everything, from camera feeds to text overlays, looks just right. This step gives your stream that polished, professional vibe.
Then, decide where you want to stream. Whether it’s YouTube Live, Facebook Live, or Twitch, fill in your event details and adjust privacy options the way you like. After that, copy and paste the unique stream key from your chosen platform into your encoder to secure the connection, ensuring your broadcast reaches your audience without a hitch.
Finally, hit the go button and start streaming. Expect a brief 10-30 second delay as your hardware gets ready, it’s like the calm before the burst of energy on stage. And remember, doing a private test run before your live event is a smart move. It’s your dress rehearsal where you can fine-tune every detail, from sound levels to visual elements, so that when you finally go live, everything clicks together in perfect harmony.
Budget-Friendly Live Streaming Setup Options and Cost Analysis
Starting out in live streaming doesn’t have to break the bank. For those dipping their toes in the game, a basic setup can be put together using a simple webcam or mounting your smartphone, usually costing around $50 to $150. A decent USB microphone will set you back about $50 to $100, while a ring light or an adjustable LED panel typically comes in at $30 to $80. These prices make it easy to get started without emptying your wallet.
In most cases, you can build your starter kit for under $300. This small investment lets you try live streaming without feeling locked into a big financial risk. You’ll have the core tools, audio, video, and lighting, to put on a good show right out of the gate.
As you get comfortable and your audience grows, think about stepping up your gear. Upgrading to a mirrorless camera with clean HDMI output or switching to a hardware encoder can really boost the quality of your broadcasts. Just be sure any new gear fits with what you already have. This gradual approach lets you fine-tune your setup as you learn and grow, ensuring everything works smoothly together for even better streams in the future.
Troubleshooting Common Signal and Connectivity Issues in Beginner Setups
When your live stream isn’t quite hitting the mark, start with the basics, check your audio and video signals. Make sure your mic is picking up clear sound and your camera is giving you a steady, crisp picture. It’s like doing a quick dress rehearsal: record a few seconds of your voice in a quiet room before you go live. Also, don’t forget to check your power source, whether it’s AC or battery, so you don’t face any sudden dropouts. Keep an eye on your encoder’s CPU usage, aiming to stay under 80 percent for a smooth, uninterrupted show.
Next, give your gear connections a good look over. If your video starts to drop out, inspect all the cables and capture cards to be sure everything’s snug and secure. You might even want to adjust your settings, lower the bitrate or resolution if needed, to make sure your signal stays stable. Imagine the difference between a shaky video and one that flows like a live concert; every little tweak counts.
Finally, make sure your network is ready for the spotlight. Try switching to lower-latency encoding presets or even add a signal booster if you notice any frame drops. A few simple adjustments can make a big difference, keeping your broadcast as smooth and engaging as the best live performance.
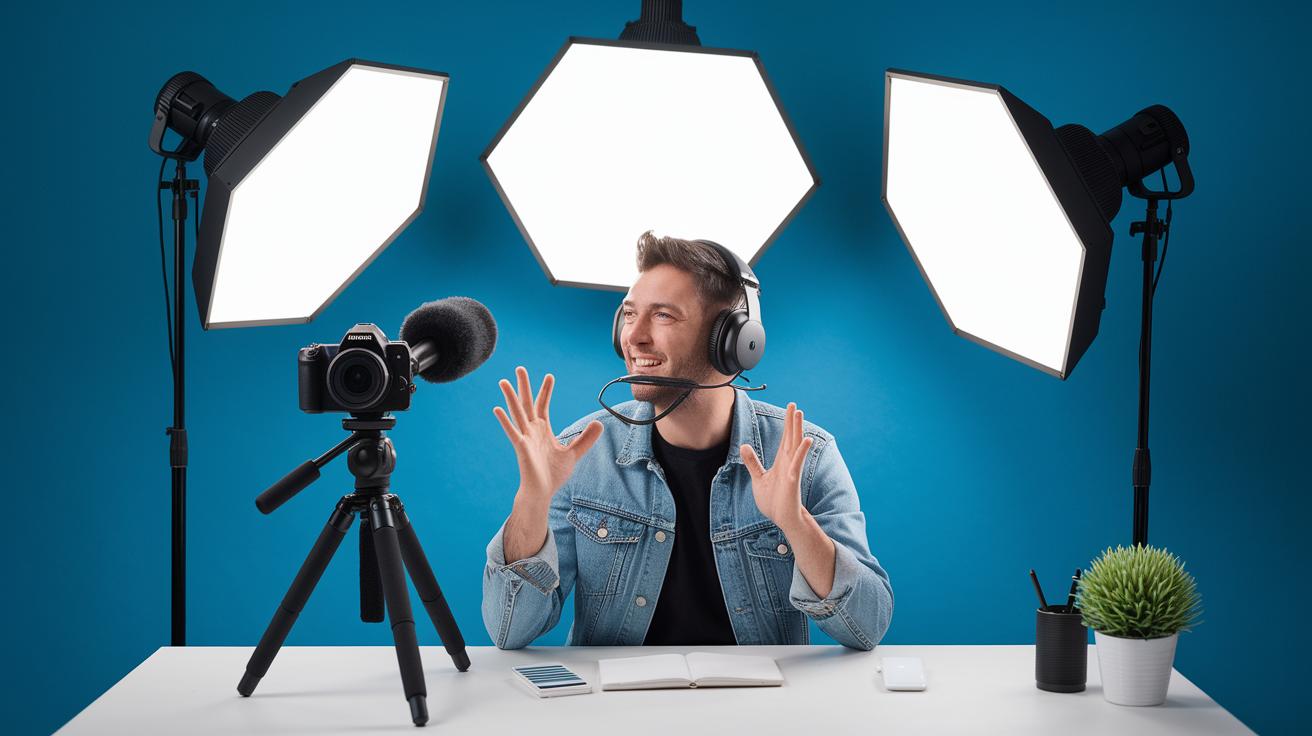
Enhancing Production Value with Lighting, Backgrounds, and Overlay Graphics
Live streaming isn’t just about having a cool camera. It’s about setting up an eye-catching scene that draws people in. With smart lighting, fun backgrounds, and custom graphic overlays, you turn your stream into a pro show that keeps your audience hooked.
Lighting Techniques
Try using a three-point lighting setup, it really changes the game. Place your main light so it highlights you perfectly, add a fill light to ease harsh shadows, and throw in a back light to make you pop out of the background. It’s like setting the stage just right for an unforgettable performance.
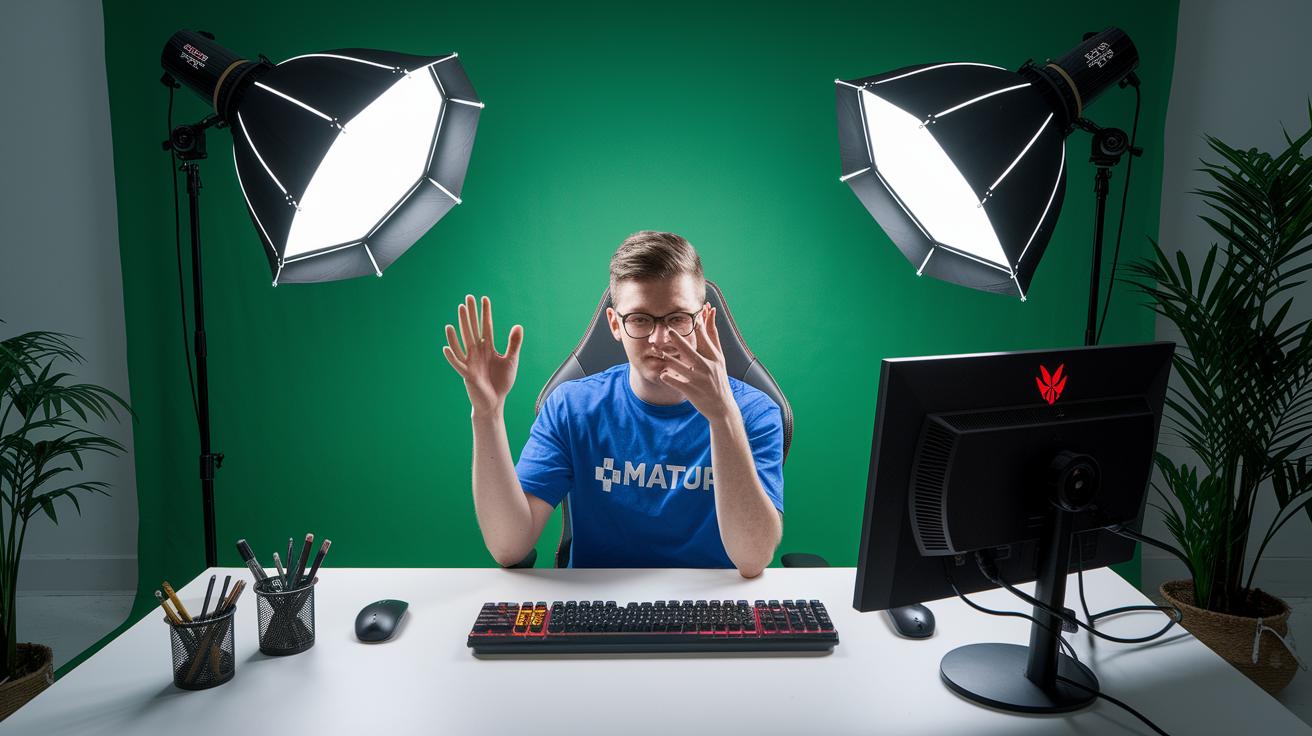
Background and Green Screen
A great backdrop can seriously boost your stream’s vibe. A collapsible green screen combined with simple chroma-key filters lets you swap in any virtual background that fits your style. Whether you’re chatting casually or hosting something more formal, this setup lets you switch scenes quickly and easily, almost like magic.
Overlay Graphics and Layout
Custom graphics such as lower thirds or on-screen borders add that extra touch of professionalism. Using easy, free templates in your streaming software, you can blend these elements into your broadcast. It’s like adding your own signature style, giving every part of your stream a cohesive, polished look.
Engaging Your Audience: Chat Integration and Interactive Features
When you add chat overlays to your broadcast, your viewers feel like they’re right in the middle of the action. Tools like OBS and StreamYard make it simple by letting you display a chat window on your screen. Picture watching your favorite streamer with real comments appearing live, it's like being part of a friendly conversation happening right on stage.
Interactive features take the experience even further. With polls, Q&A sessions, and loyalty badges, you can invite your audience to jump in. For example, you might ask, “Which topic should we explore next?” and instantly turn a one-way show into a lively event. This hands-on participation transforms casual watching into an exciting, shared journey.
Quick responses and regular chat interactions are key to building a strong community. When viewers see you noticing their messages and even giving out special badges, trust naturally follows. Over time, these genuine connections not only help your community grow but also set the scene for future opportunities and revenue.
Final Words
In the action, we covered everything a newcomer needs, from setting up gear like cameras, mics, and lighting to fine-tuning software, connection speeds, and troubleshooting steps. We explored how small upgrades in production value can transform your stream and boost audience interaction with chat integration and interactive tools.
This guide brings together numerous tips so that you can confidently jump into a live streaming setup for beginners and create experiences that truly connect with your viewers. Enjoy experimenting and have fun streaming!
FAQ
How do I set up a live stream as a beginner for platforms like Twitch, YouTube, and Reddit?
The live streaming setup for beginners involves preparing key gear—camera, microphone, lighting, stable internet, and streaming software—that works well on platforms like Twitch, YouTube, and Reddit.
What equipment do I need to do live streaming?
The equipment needed for live streaming includes a quality camera, USB microphone, suitable lighting, reliable software, and a steady internet connection to avoid interruptions during your broadcast.
How much does a basic streaming setup cost?
A basic streaming setup usually costs around $300, with budget-friendly options for cameras, microphones, and lighting, making it possible to start small and upgrade later.
Do you need 1,000 subscribers to live stream?
You do not need 1,000 subscribers to live stream, as most platforms allow beginners to start broadcasting without meeting any minimum subscriber requirement.
How do I start streaming as a beginner?
Starting your live stream means selecting a platform, setting up essential gear, configuring your streaming software, and performing test runs to ensure your settings deliver a smooth broadcast.
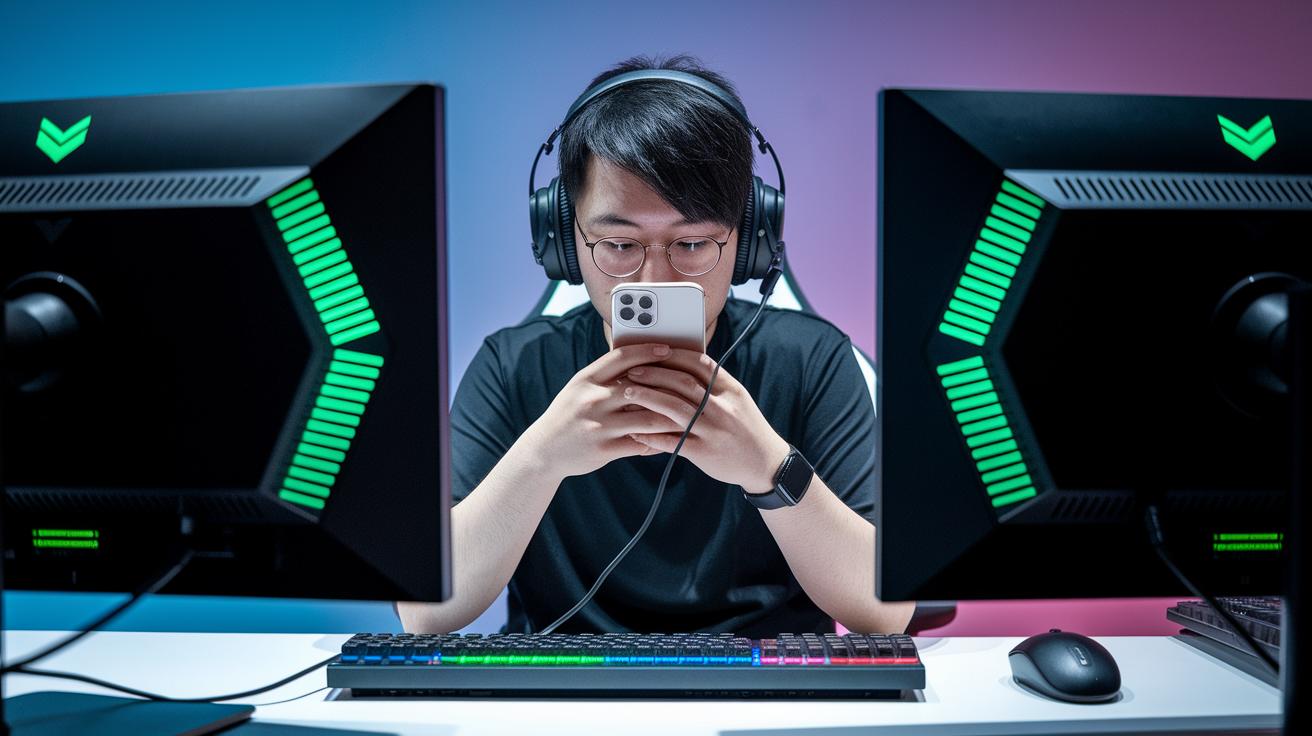
What is a good live streaming setup for gaming?
A good gaming streaming setup includes a capable PC, high-quality game capture, clear audio, an HD camera, and a fast internet connection to handle gameplay and streaming simultaneously.
What does a beginner streaming setup PC entail?
A beginner streaming setup PC should have sufficient processing power, including a reliable CPU, enough memory, and a decent graphics card, to run both your streaming software and your content smoothly.

