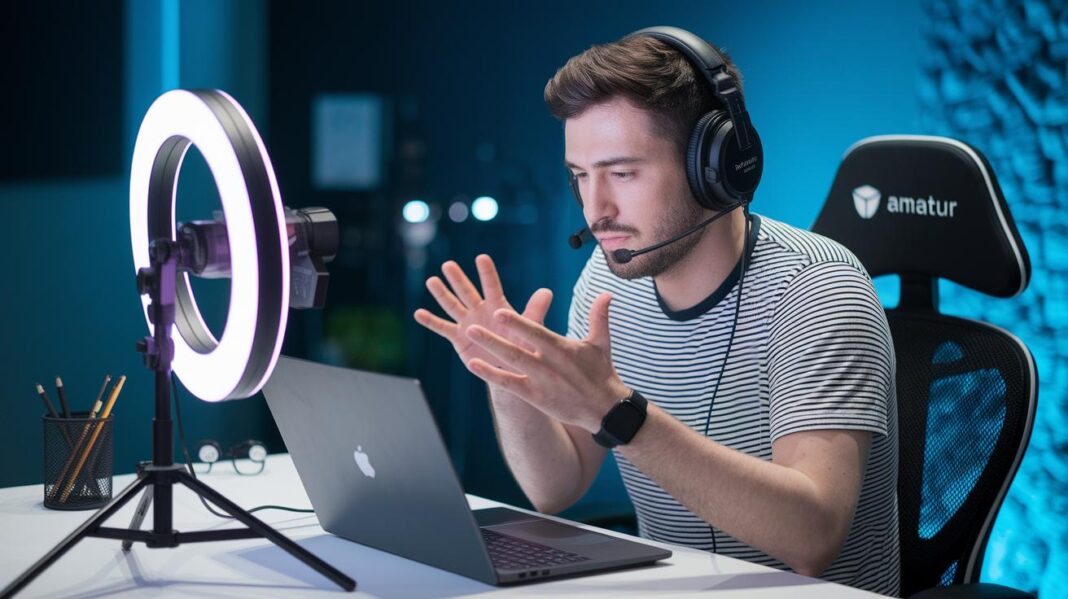
Ever wonder if you can start live streaming without a lot of fuss? In this post, we'll walk you through a few simple steps so you can share your moments live right away.
Picture chatting with your friends while you show off your favorite event. It all feels so natural when you have the right tips at your side.
You'll get advice on smart gear and some neat tricks that make streaming a breeze. So get set to enjoy a guide that makes live streaming both simple and fun.
Live Stream Basics: A Complete Beginner Tutorial
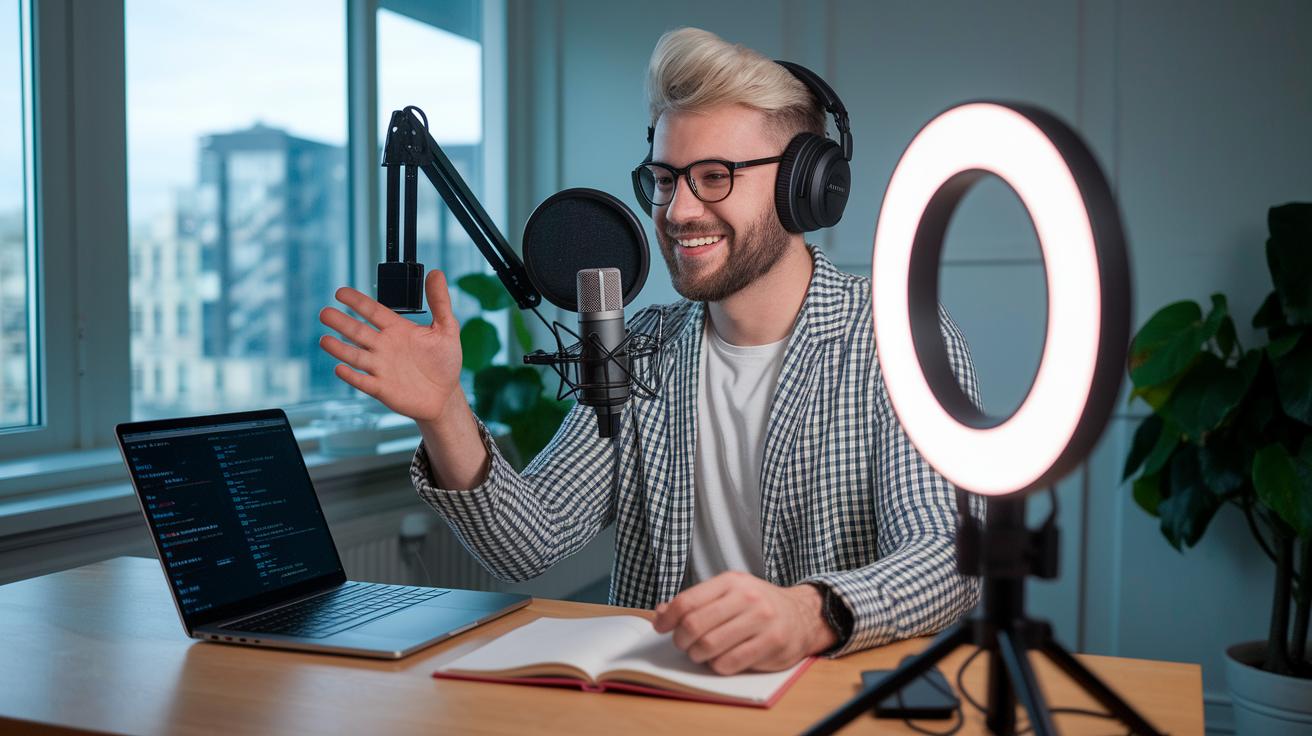
Live streaming is a game changer these days because it lets you connect with your audience in real time. It feels like chatting with friends while sharing a cool event, whether it’s a live workout session, a Q&A with fans, or even a behind-the-scenes peek. No wonder almost a third of pro streamers jump on live several times a week to keep the energy buzzing.
First off, think about what you want to get out of your stream. Maybe you’re introducing a new product, running a quick how-to, or just sharing an exciting moment. For example, picture this: before leading a big tech talk, Alex spent weeks perfecting his streaming setup just to make sure everything was spot on.
Then, sketch out what you'll talk about. Jot down the main points and toss in some interactive bits like polls or live chat questions to keep things lively. Next, pick the platform that vibes with you, could be YouTube, Facebook, or another option that feels right. Each platform has its own tools, so choose one that matches your style and the type of content you’re creating.
Don’t forget about your gear. Whether it's a fancy camera or just your smartphone, a good microphone and solid lighting can really make a difference. Before you hit that “Go Live” button, test everything out. A steady internet with an upload speed of around 3–6 Mbps is key for HD quality, and it helps to know your equipment is ready to roll.
Finally, keep the conversation going once you’re live. Use features like live chat and polls to make your audience feel like they’re part of the action from start to finish.
Essential Live Stream Equipment and Hardware Recommendations
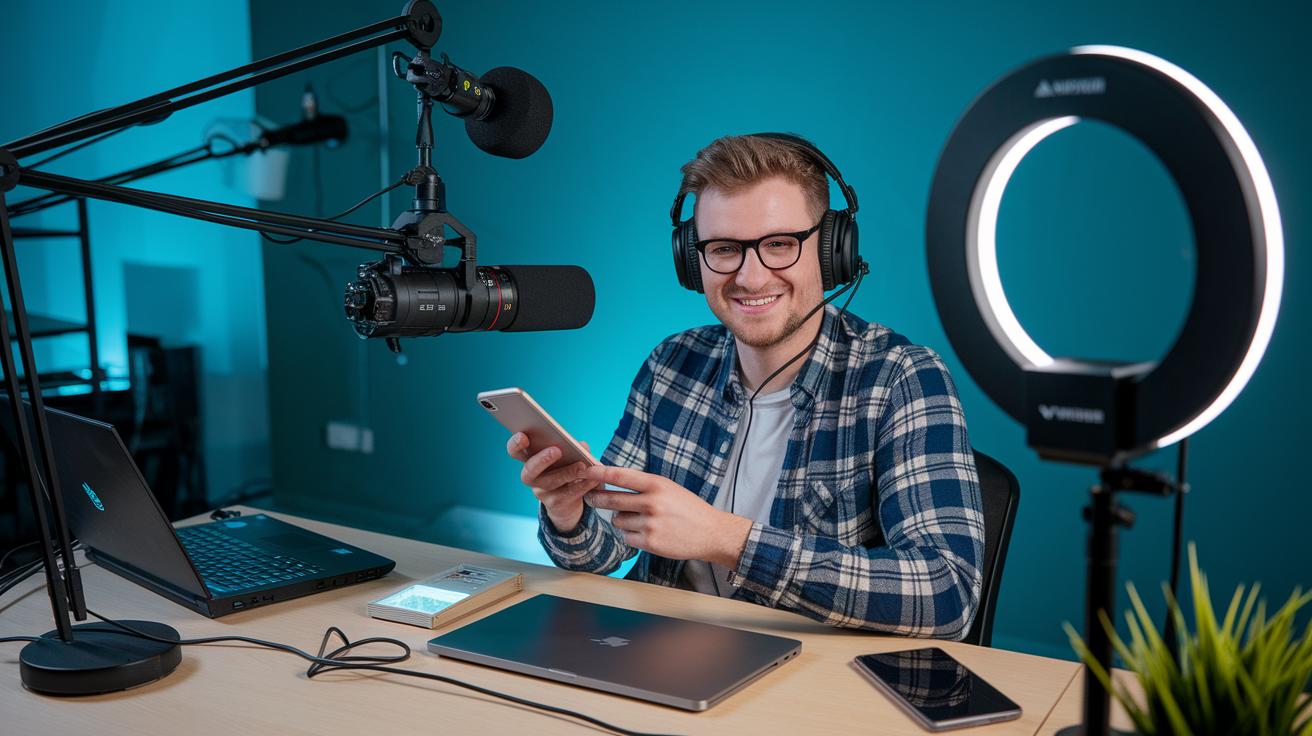
When live streaming, your gear can really make or break the show. Start by choosing a quality camera like a DSLR or mirrorless camera so your visuals are clear and crisp. Think about using a DSLR during a product demo to capture every tiny detail. And if you're covering an action-packed event, you might try a mix of cameras to get fresh angles. When you’re ready to go pro, check out advanced setups for live events.
Next up, a capture card is key. This handy tool turns the HDMI signal from your camera into USB for your computer. In simple terms, it makes sure your video flows smoothly into your stream, keeping glitchy moments at bay.
Sound is just as important. Using an external microphone, whether a condenser or dynamic mic, helps your voice come through clearly while cutting down on background noise. For example, placing a dynamic mic in front of you during a live Q&A can make sure everyone hears you, even if the room is buzzing.
Good lighting can change everything. Softbox or ring lights brighten your setup so every detail pops without harsh shadows. Try different light placements until you create the perfect, inviting look that draws your audience in.
Finally, don’t forget about your budget. You can kick things off with just your smartphone and free tools, or you can invest in premium gear if you’re ready to take it to the next level. Every piece of equipment you choose adds a bit more professionalism and excitement to your live stream.
Streaming Software and Platform Selection Guide
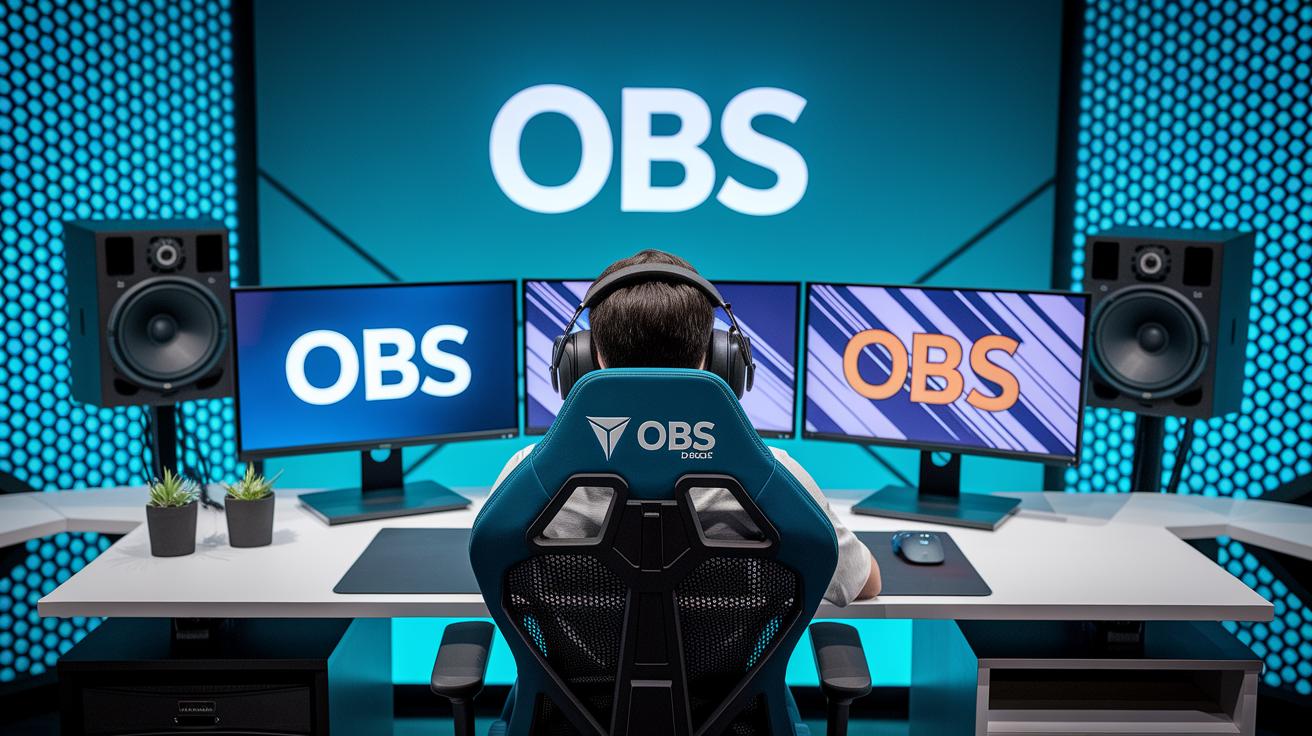
When you're ready to go live, start simple with free broadcasting tools like OBS Studio. I kicked off my first stream with OBS Studio because it gave me everything I needed without costing a penny, and it's open-source, which makes it a top pick for beginners.
If you're looking for a bit more flair, check out Streamlabs OBS. It builds on OBS by adding cool overlays and extra support for more interactive streams. And if you want that extra polish with professional overlays and a helping hand from customer support, paid options like XSplit might be just the ticket.
So how does it all work? These programs use software encoders to turn your video feed into digital data that zips over the internet. This means your content is ready to shine on any platform, and it's perfect if you plan to save your streams as on-demand videos later.
For those moments when you're on the move, try mobile streaming apps like StreamYard or Restream Go. They let you broadcast directly from your phone, making it easy to share live adventures anywhere, anytime. And if you love the idea of hitting multiple platforms at once, these tools simplify that process so you can reach more viewers effortlessly.
Internet and Network Settings for Stable Live Streaming
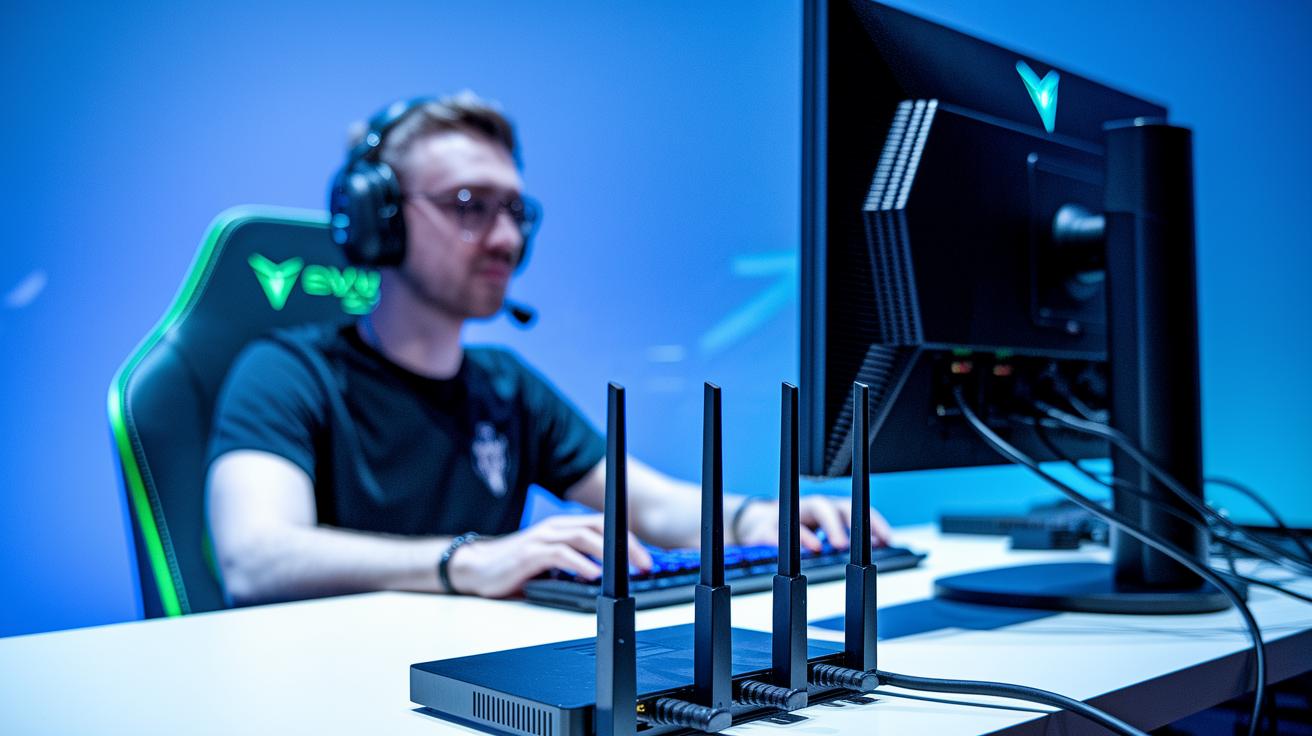
When you're ready to go live, start by making sure your network is rock solid. A wired Ethernet connection really beats Wi-Fi because it helps cut out dropouts and lag. Before you hit that broadcast button, run a quick speed test, aim for about 3 to 6 Mbps if you're streaming in 720p or 1080p. And hey, if you're dreaming of a 4K experience, you might need speeds up near 10 Mbps. For instance, you might find out, "Whoa, my upload speed is 5 Mbps, just perfect for a clear HD stream!"
Next, tweak your router settings using QoS options to give your live stream top priority, especially when network traffic heats up. It's like making sure your favorite song gets to play even in the middle of a busy party.
Also, don't be afraid to experiment with your bitrate and resolution. Adaptive bitrate streaming automatically adjusts the quality based on how your network is doing right then. So, depending on the vibe of your content, choose between 720p or 1080p paired with frame rates of 30 fps or 60 fps. And for those moments when every second counts, consider low-latency options like SRT, which help keep delays to a minimum so your live interactions feel snappy and real.
- Upload speed testing
- Router and QoS adjustments
- Bitrate, resolution, and frame rate configurations
- Low-latency protocol options
Pre-Stream Planning: Checklists and Best Practices

Planning your live stream is like setting the stage for an epic show, every little detail matters. Start by getting clear on your goals and really understanding who you’re speaking to. Imagine saying, "Before today’s stream, we spent hours brainstorming our theme to catch that perfect vibe." That kind of thoughtfulness sets you up for success.
Next, map out your content and mark the perfect spots to invite your viewers to jump in. Think of them as little chances to say, "Hey, join the fun!" Along with that, put together catchy titles, clear keyword-packed descriptions, and smart tags. This combo not only grabs attention but also helps your stream get noticed online. And don’t forget to create promo materials that spark interest while scheduling your stream at a time your audience is truly active.
Make sure you have a backup plan ready in case your power or internet falters, running a full test stream acts like a rehearsal before the big performance. Also, give your followers a heads-up on social media 24 to 48 hours ahead of time and stick to a regular schedule, so they always know when to tune in.
- Define your content and goals
- Get your promo assets and schedule in order
- Create catchy metadata and test your setup
Follow this checklist, and your live stream will be set for an unforgettable show.
How to Go Live: Platform-Specific Setup
YouTube Live Broadcast Setup
Ready to light up your audience on YouTube? First, turn on live streaming from your account settings whether you’re on a browser or using the mobile app. Activate the feature and plan your live event by crafting a catchy title, clear descriptions with top-notch keywords, and helpful tags that invite people to join your stream. You get options: use your webcam directly, stream from your phone, or connect an encoder for some extra cool features. Before going live for real, run a quick test to make sure your camera, microphone, and other equipment are all working as they should. Finally, choose whether your stream is Public, Unlisted, or Private to control who’s watching.
Facebook Live Streaming Guide
Thinking about streaming on Facebook? Mobile streaming is super simple and works great even if you don’t have a huge follower count. Open the Facebook app, tap the camera option, and start broadcasting. If you’re more into desktop streaming, check out Facebook Live Producer, which gives you handy tools to manage your live session. Try different times to see when your audience is most active, and feel free to switch up camera angles during your stream to keep things fresh and engaging.
Twitch Broadcast Configuration
Heading over to Twitch for your broadcast? Start by grabbing your unique stream key from your dashboard – it’s your ticket to going live. Plug that key into your streaming software, like OBS (which is a popular tool for broadcasting), and you’re set. Keep an eye on your channel analytics during your stream to see viewer counts and engagement. Plus, use community features like raids to invite other channels, helping build a more active and connected audience.
Instagram & TikTok Mobile Live
Looking for a more chill, behind-the-scenes vibe? Both Instagram and TikTok let you go live straight from your mobile device. Simply open the app, tap that live button, and use built-in filters to add creative effects to your stream. Engage your viewers with Q&A stickers to invite their participation. These little touches create an authentic experience, giving your audience a genuine peek behind the scenes.
Audience Engagement: Interactive Techniques and Chat Moderation
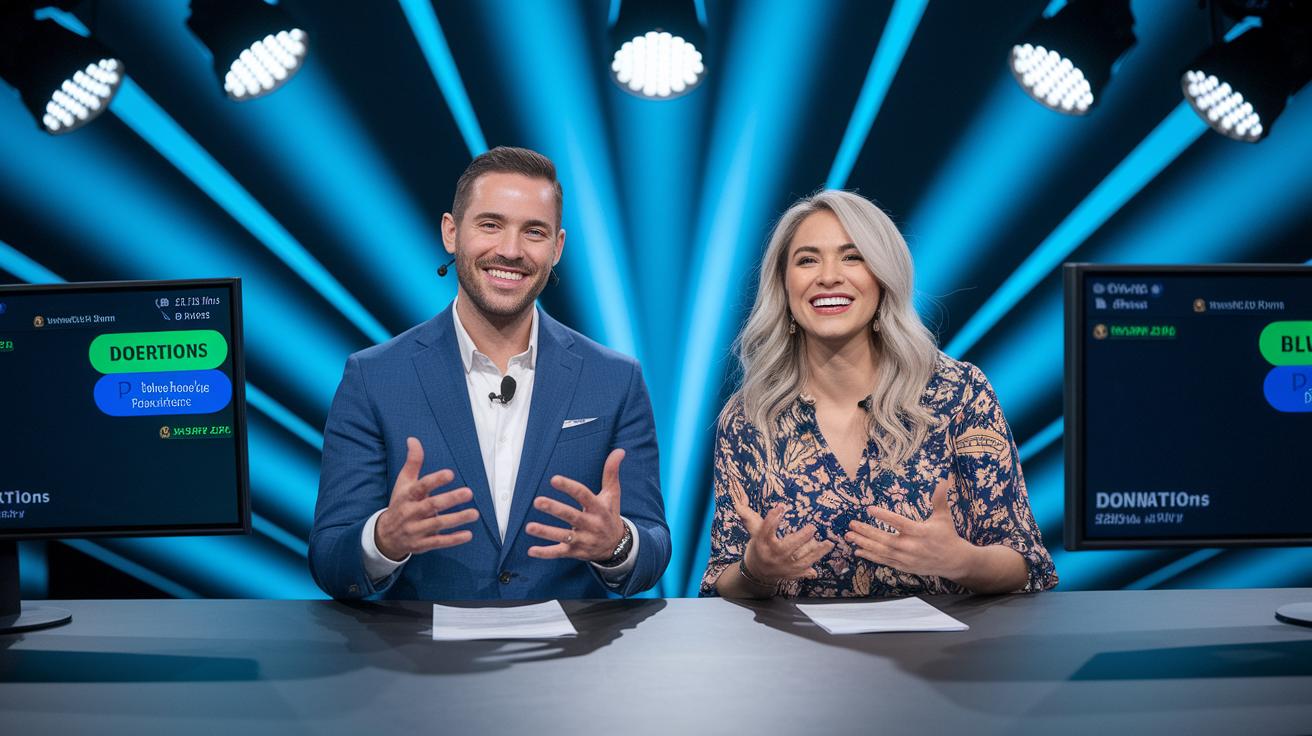
Imagine the thrill of a live event where every viewer feels like a VIP. That’s what interactive live chat does, it makes your audience part of the show. Using live polls and Q&A sessions, you invite viewers to jump in easily. For example, casually ask, "Vote now: Which segment should we dive into next?" and watch as your chat lights up with excitement.
Moderators are like friendly bouncers keeping the space fun and inviting. They gently filter out off-topic chatter and calm any disruptive energy. A quick, clear set of chat guidelines helps everyone know how to play nice, ensuring your digital hangout feels safe and friendly.
Adding donation and tip alerts is another cool trick to boost engagement. These alerts give a quick shout-out to anyone contributing during the stream, making them feel seen and appreciated. You might say, "Enjoying the vibe? Drop a tip or join our quick poll to share your thoughts!" This little nudge reinforces that every interaction counts.
Also, plan special segments just for audience questions. Announce a live Q&A session to invite viewers to ask what’s on their minds. Not only does this stretch out your time on air, but it also builds a loyal community that feels like they’re right there with you.
| Tip | Description |
|---|---|
| Live Polls & Q&A | Get viewers involved with fun, interactive segments. |
| Chat Moderation | Use moderators and set clear guidelines to keep the space friendly. |
| Interactive Segments | Plan moments dedicated solely to answering audience questions. |
Using these techniques, you create a lively, welcoming atmosphere that feels as personal as a chat with a friend. Every poll, every question, and every alert amps up the connection, turning your broadcast into an experience that everyone remembers.
Post-Stream Review: Analytics, Archiving, and Video on Demand
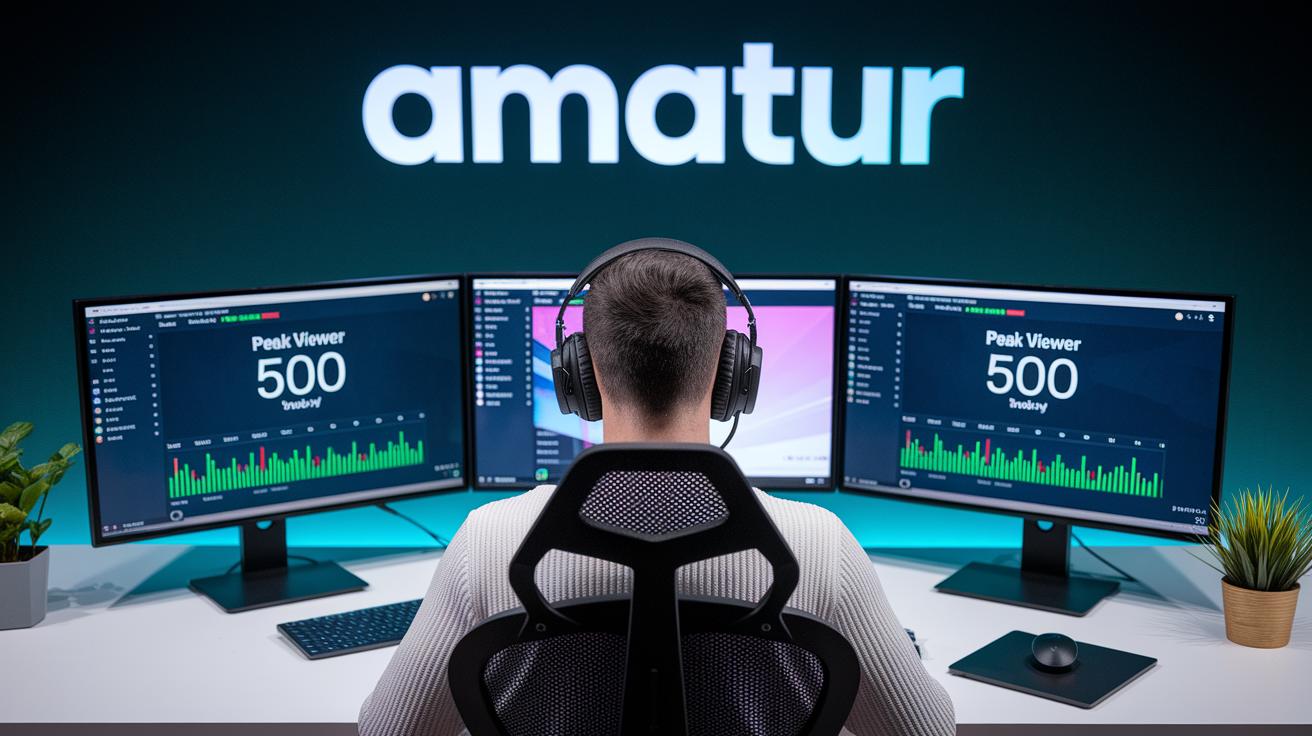
When your live stream wraps up, the work is just beginning. It’s time to jump into your platform’s analytics to check out numbers like how many people watched, the total watch time, and when your stream reached its peak. Maybe you saw the count hit 500 viewers at one point, that’s a sure sign your content struck a chord! Use these insights to figure out what nailed it and what might need a little fine-tuning for your next broadcast.
After that, don’t forget to save your stream by archiving it and turning it into a video on demand. This makes it easy for more people to catch your show later on. Here’s a simple way to do it:
- Look at key numbers like viewer retention and read through the comments for feedback.
- Convert your live stream into a video on demand and make sure you add clear captions.
- Edit the video into short clips and share them on social media to reach even more viewers.
I’d also suggest trying out third-party tools that offer heatmaps, so you can see exactly where your audience stayed engaged. This whole review process not only helps you polish your content but also makes your videos easier to find and boosts interaction over time.
Troubleshooting Live Stream Issues and Backup Plans
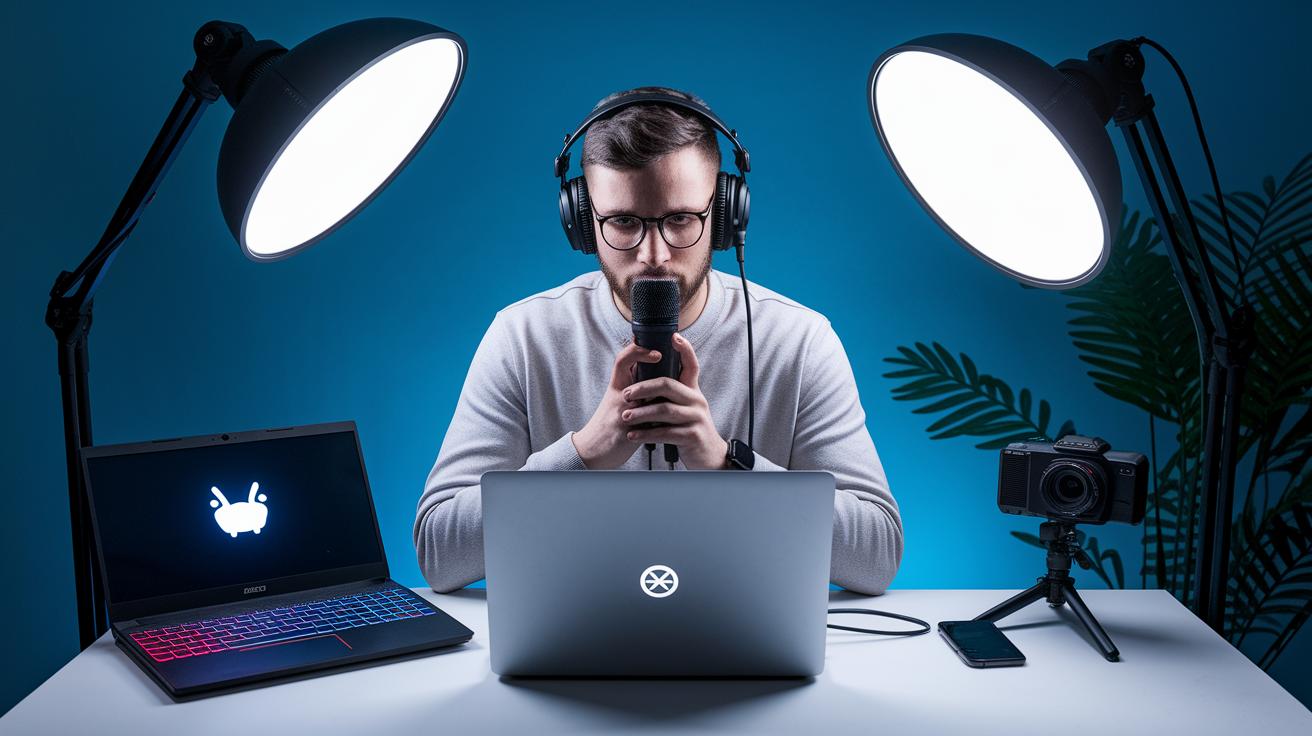
When your live stream isn’t feeling smooth, quick fixes can really save the day. Start by checking your internet connection, sometimes a fast reboot of your router can clear up the glitches. If you see lag or choppy pictures, try lowering your bitrate or resolution. Imagine it like turning down the volume at a loud concert; sometimes a little adjustment makes all the difference.
Restarting your gear often helps too. Give your encoder software a quick restart, or unplug and plug in your camera and microphone if they cut out unexpectedly. It’s always smart to have backup devices and a pre-set stream key on standby. And for extra security, use password-protected streams and geo-blocking options. When unexpected issues occur, simple fixes like a hardware reset or an on-the-fly bitrate tweak might just bring back the magic. Test your backup plan well before you go live so you can keep the energy high and your audience engaged.
Final Words
In the action, we covered live streaming essentials, from planning and gear selection to platform setup and audience techniques. We walked through the setup process, troubleshooting steps, and post-stream analysis. Each step was designed to help you master how to live stream in a clear and straightforward way. These insights bring you closer to creating high-quality, interactive broadcasts. Enjoy the tech and creativity in every broadcast and keep pushing toward memorable live digital experiences.
FAQ
How do I start live streaming?
Starting live streaming means planning your content, choosing a platform, testing your equipment, and ensuring a stable internet connection. This creates a smooth experience that engages your audience.
How do I live stream on YouTube, even without 1,000 subscribers?
Live streaming on YouTube involves enabling the live feature in your account settings. If you have fewer than 1,000 subscribers, you can sometimes stream using the mobile app after verifying your account.
How do I live stream on an Android phone or smartphone?
Live streaming on your phone, whether on Android or another device, means opening your platform’s app, tapping the live option, setting stream details, and checking your connection for a steady broadcast.
How do I live stream on Facebook?
Live streaming on Facebook means using Facebook Live on your mobile or desktop. Start the stream by selecting the live option, adjusting your camera settings, and choosing the audience for a clear broadcast.
How can I live stream for free?
Live streaming for free is possible using built-in mobile apps or free software like OBS Studio. You can broadcast without fees by having the right setup and a reliable internet connection.
How do I watch live streams on YouTube?
Watching live streams on YouTube means visiting the Live section or checking your subscriptions. Tapping a live video lets you view the broadcast in real time while joining in the chat if available.
What device do I need for live streaming?
The device needed for live streaming may be a smartphone, computer, or dedicated hardware with a good camera and microphone. Choose gear that matches your desired video quality and streaming goals.