
Ever noticed your live stream lagging behind sometimes? A quick fix, like doubling your upload speed, might just do the trick. It’s kind of like tuning your stereo so your favorite song sounds perfect.
A strong wired connection along with a few smart tweaks in your encoder settings can help clear up the lag. This means your broadcast will run smoother, almost like watching a live concert without any hiccups. Follow these easy steps to keep your stream seamless, so you can focus on sharing those electrifying, unmissable moments.
Quick Action Items for High-Quality Live Streaming

If you’re planning a live stream, start by doubling your target bitrate with your upload speed. For example, if your stream runs at 5 Mbps, having 10 Mbps upload is just right. This simple check helps your stream feel as smooth as a live concert.
Next, stick with a wired Ethernet connection. A wired setup means fewer hiccups and less lag, imagine it as keeping your favorite song playing without interruption.
When setting up your encoder, aim for 720p at 30 frames per second with a bitrate between 3 and 6 Mbps. This balance keeps your visuals sharp while not overloading your system, kind of like getting the sweet spot on your phone’s volume.
Don’t forget to switch on hardware encoding options such as NVIDIA NVENC or AMD AMF. These options lift the load off your CPU, making your performance feel effortless and steady.
It’s also smart to activate adaptive bitrate streaming. This feature adjusts your stream’s quality based on each viewer’s connection, ensuring that everyone gets a great experience without annoying buffering.
Before you go live, run a full test of your streaming setup using real-time monitoring tools. Testing is like a soundcheck, it spots issues early so nothing disrupts your live show.
Lastly, set up a backup internet link or use link bonding. Having a ready fallback means even if one connection stumbles, your stream carries on without missing a beat.
These quick, high-impact tweaks help you fine-tune your live streaming setup, ensuring that every broadcast feels as dynamic and seamless as a front-row seat at your favorite live event.
Network Configuration Strategies for Live Streaming Performance
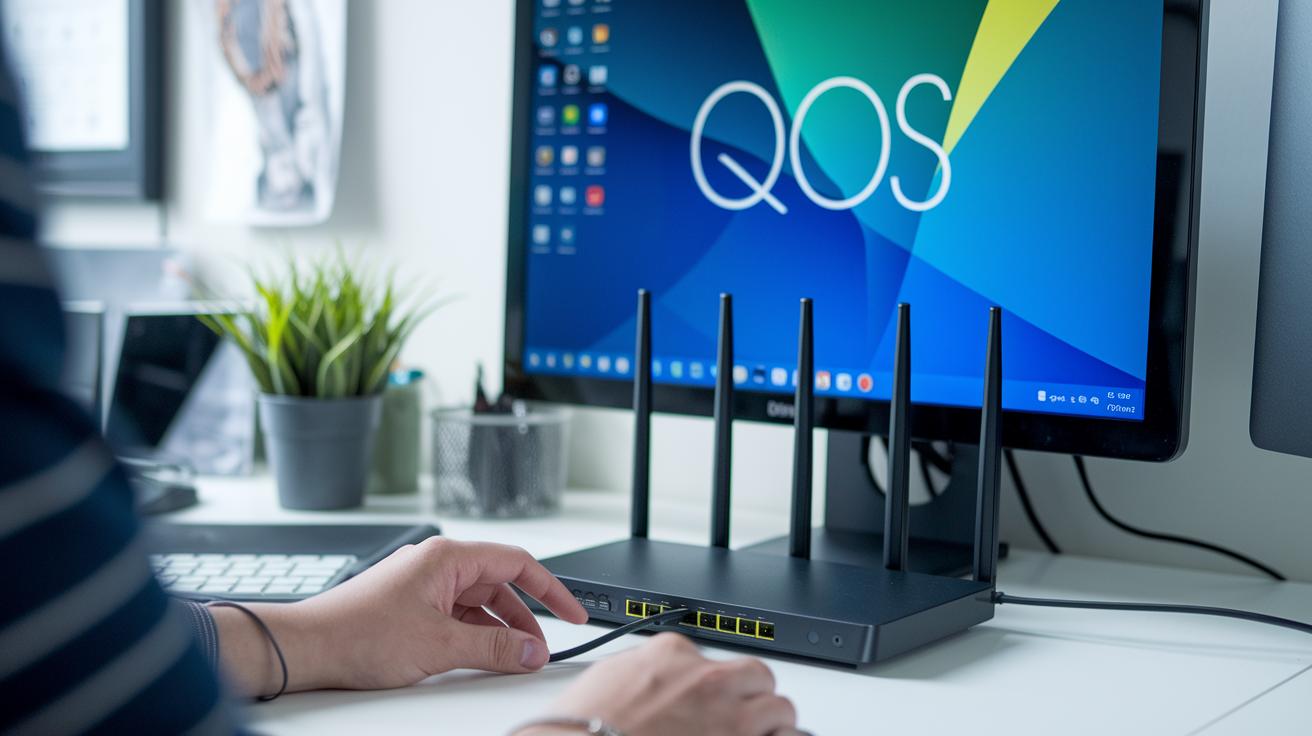
Switch to a wired Ethernet connection paired with a business-grade internet plan to avoid any packet loss. It’s like plugging your guitar straight into an amp to get that crisp, uninterrupted sound.
Make sure your upload speed is at least double your stream’s bitrate. So if you’re streaming at 5 Mbps, aim for 10 Mbps. This little trick helps keep your live show smooth and steady without lag or stuttering.
Give your live content the VIP treatment by setting up Quality of Service (QoS) rules. This means your streaming traffic gets top priority, much like a backstage pass to the main event.
Plan backups and heavy file transfers for times when you’re not live. Think of it as clearing the stage before the headliner steps on, keeping everything running perfectly when it matters most.
Consider using link bonding or a backup connection. That way, if one path has an issue, your stream keeps on rolling without missing a beat.
| Configuration | Recommended Setup |
|---|---|
| Connection Method | Wired Ethernet link with a business-grade plan |
| Upload Speed | At least twice the stream bitrate |
| Traffic Prioritization | QoS rules activated for streaming traffic |
| Transfer Scheduling | Backup large transfers outside live-stream windows |
| Backup Links | Link bonding or standby backup connections |
Encoder and Bitrate Management for Live Streaming Performance
Try setting your encoder to 720p at 30 fps for a live stream that's both clear and stable. One streamer mentioned that when they switched to this setting, everything felt smooth right away.
Adaptive multi-bitrate streaming automatically adjusts your stream based on your viewers’ network speed. Plus, tweaking OBS CPU presets, using options like "faster," "fast," or "medium", helps keep your stream crisp without overloading your system. One person even said, "Switching to a medium preset let me maintain high quality without stressing my setup."
Using GPU offloading with NVIDIA NVENC or AMD AMF can help reduce frame drops during busy moments. And on-the-fly transcoding lets you create multiple bitrate outputs from one input, providing extra flexibility for your stream.
Quick Setup:
- Set your encoder to 720p at 30 fps
- Activate adaptive multi-bitrate streaming
- Tweak OBS CPU presets for a balance of speed and quality
- Use GPU encoding with NVENC or AMF
- Enable on-the-fly transcoding for flexible output
Adaptive Bitrate and Buffering Tactics for Live Streaming Performance

Adaptive bitrate methods keep your live stream smooth no matter how your connection changes. You split the video into short chunks, about 2 to 10 seconds each, so switching between resolutions happens without a hitch. It’s kind of like listening to your favorite song where each beat flows perfectly into the next.
Then there’s the Media Source Extensions (MSE) API. This tool helps you adjust your buffer on the fly, kind of like an audio mixer quickly balancing sound levels during a live performance. Automated tweaks in video quality kick in based on your viewer’s connection speed, making sure the picture stays sharp even when things slow down a bit.
Another cool trick is to store small video segments locally. Imagine having a few extra tracks ready on your playlist for when there’s a drop in the beat. This little backup plan stops sudden lags that might pull someone out of the experience.
And if something goes wrong, fast-retry and error-correction steps jump in like a quick fix during a live show. If one video segment doesn’t load, these measures make sure everything gets sorted right away.
Quick tactics:
- Split video into short 2–10 second segments
- Use MSE for fine-tuning buffer control
- Auto-adjust resolution based on connection speed
- Cache small segments to tackle network hiccups
- Apply fast-retry protocols to handle interruptions
These tips help keep your live streaming engaging and free from those pesky pauses.
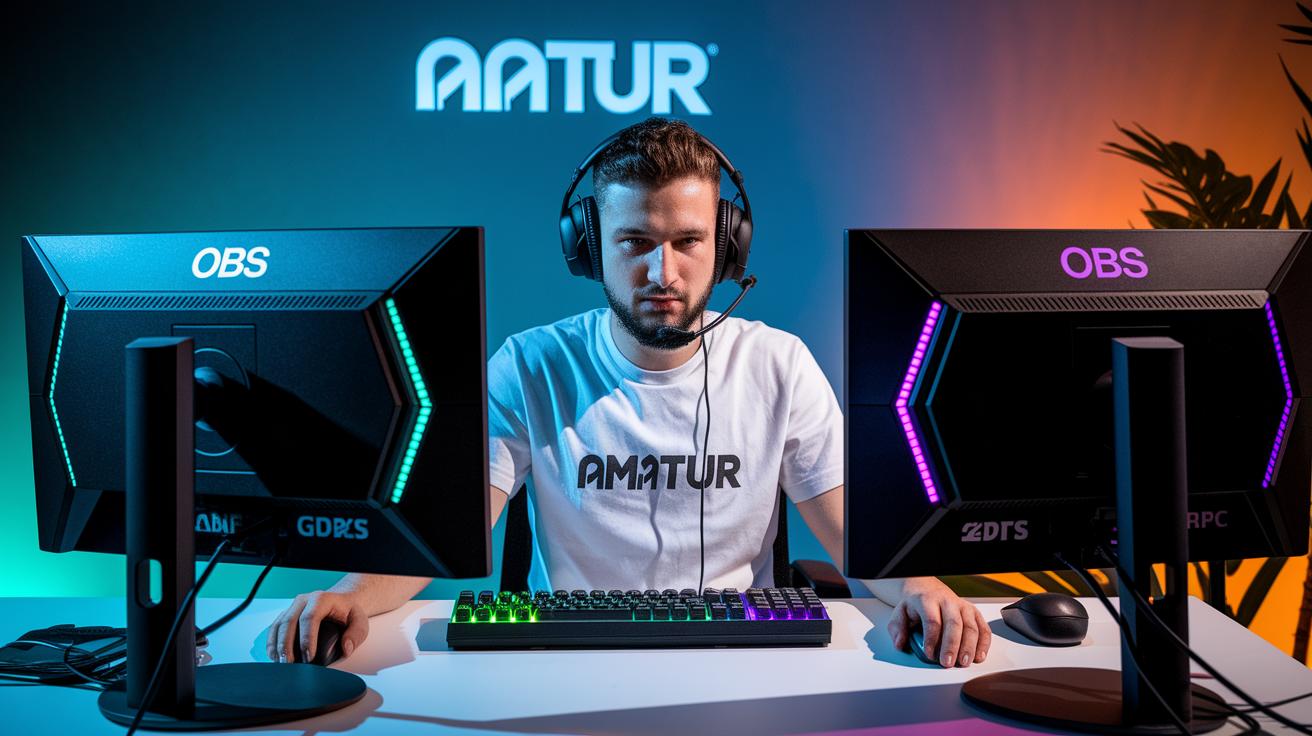
Hardware Acceleration Benefits for Live Streaming Performance

Using hardware encoders like NVIDIA NVENC or AMD AMF takes a big load off your CPU. This means you can enjoy a clear picture without dealing with heavy encoding work. Imagine your stream running as smoothly as a high-speed train, gliding effortlessly on its tracks.
Setting up a dedicated streaming PC or a dual-PC system separates the hard work of producing your content from the encoding process. One streamer even said switching to a separate machine made their broadcasts feel as fast as a live sports update. It’s a game changer.
Upgrading to fast SSDs and having 16 GB or more of RAM can cut down on delays from capture to stream. It’s like swapping an old bike for a slick electric scooter. For even quicker performance, using PCIe capture cards or direct GPU capture minimizes extra software work and keeps your live feed sharp.
And don’t forget to update your drivers and firmware regularly. These little updates help your hardware stay in sync with the latest performance boosts.
Quick hardware tips:
- Offload encoding with NVENC or AMD AMF
- Use a dedicated or dual-PC setup
- Invest in fast SSDs and plenty of RAM
- Consider PCIe capture cards or direct GPU capture
- Keep drivers and firmware up to date
Platform-Specific Optimizations for Live Streaming Performance
When you're live streaming, every platform has its own set of tricks to help your broadcast shine. It's a lot like fine-tuning your favorite playlist, small tweaks to your encoder settings and bitrate can make a big difference. These adjustments keep your stream looking fresh, crisp, and engaging, even when the crowd is booming.
Twitch
Twitch is all about keeping things steady for Partners and Affiliates with adaptive bitrate streaming. For the best experience, set your stream’s bitrate between 3 and 6 Mbps if you’re streaming at 720p or 1080p. This sweet spot helps balance smooth visuals with minimal buffering, even during the busiest moments. One streamer even shared, "Switching to an adaptive bitrate setting made my broadcast feel more consistent during peak times." It’s these little tweaks that help you connect with your audience in a real, engaging way.
YouTube Live
YouTube Live takes things up a notch by supporting much higher bitrates, up to 51 Mbps for those stunning 4K streams. With Studio analytics in your corner, you can watch your stream's performance in real time and make quick adjustments. And if you’re into adding interactive touches like overlays or extra metadata, YouTube’s APIs have you covered. It’s kind of like watching your favorite show and getting to change the channel settings on the fly, keeping your broadcast vibrant and on point.
Facebook Live
Facebook Live has its own style, recommending a maximum upload rate of about 4 Mbps for 720p streams. Here, nail the keyframe intervals and codec requirements to keep your stream in sync and smooth. Following these guidelines means your live broadcast stays sharp, no matter how high the viewer count climbs. This attention to detail ensures your stream meets Facebook’s standards while keeping the energy high during every live moment.
Real-Time Monitoring and Troubleshooting Live Streaming Performance
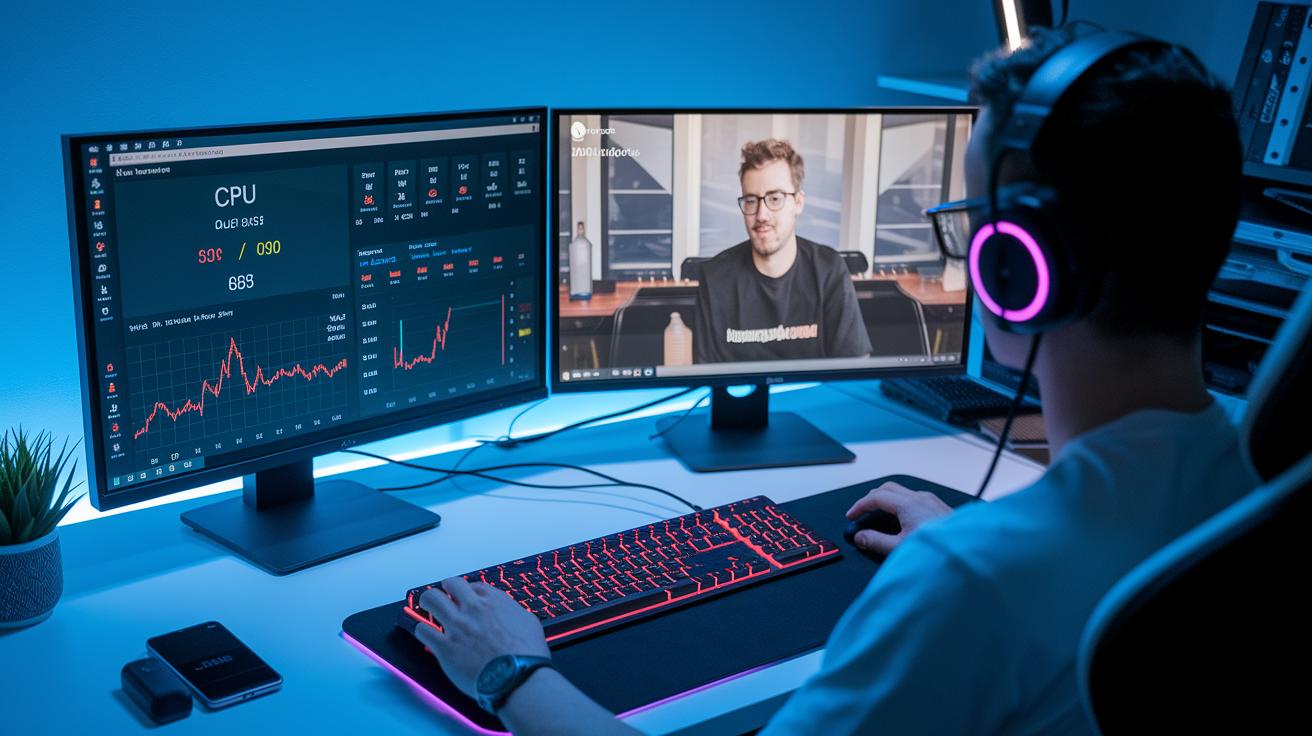
Keeping a smooth live stream is all about staying on top of your metrics. You can track things like CPU and GPU usage, bitrate, and even frame drops using tools such as Streamlabs OBS or your vendor portal. It’s almost like getting a backstage view of your live show. One streamer mentioned, "When I noticed a spike in CPU usage during a live test, I quickly adjusted the settings and kept my stream smooth." That quick fix can really make all the difference when you’re live.
It’s also important to watch how your network is doing. Keep an eye on stats like packet loss, jitter, and round-trip time that can affect your stream quality. Set up alerts so if any of these numbers start to wobble, you can jump in and fix things before your audience notices a hiccup.
Diagnostic latency tests are a key part of the mix. They help you spot any bottlenecks that might be slowing you down, automatically triggering changes like bitrate shifts or retries when needed. Running short, full tests and keeping a pre-stream checklist can catch issues like A/V sync drift or frame drops before you go live.
| Step | Description |
|---|---|
| System Monitoring | Keep tabs on CPU, GPU, and streaming stats using a dedicated dashboard |
| Network Monitoring | Track packet loss and jitter, setting alerts to catch issues early |
| Latency Testing | Run diagnostic tests and use pre-stream checklists to catch any glitches |
By tracking these details in real time, you ensure that your live broadcast stays steady and engaging for every viewer. It’s all about creating that seamless, exciting experience that feels just as thrilling as a live performance.
Infrastructure and CDN Upgrades for Live Streaming Performance

Let's boost your backend by choosing a CDN with global edge nodes. In plain terms, you’re setting up mini server hubs in important spots worldwide to cut down on lag, kind of like scattering little delivery centers around the globe so your stream gets to viewers super fast.
Next, dynamic load balancing spreads out traffic between your main servers and those edge nodes. Imagine guiding concert-goers to different entrances so no single door ever gets packed, this trick keeps your broadcast running smoothly even when the crowd’s huge.
Then there’s cloud transcoding, which handles on-demand re-encoding while adding a layer of security. Think of it as having a backup soundcheck ready just before each show. Upgrading your core server parts like CPU, RAM, and I/O lets your system handle a busy crowd, making sure everyone gets a solid, steady signal.
Finally, fine-tune your routing policies to skip unnecessary stops between servers. This cuts down on delays, keeping your stream in perfect sync for every viewer and delivering a reliable, low-latency live experience.
Final Words
In the action, this guide provided quick tips on high-quality live streaming while breaking down network setups, encoder tuning, adaptive bitrate handling, hardware acceleration, and platform tweaks.
Each section gave hands-on steps you can put into play right away.
By focusing on optimizing live streaming performance, you now have a clear pathway to smooth, engaging broadcasts. Enjoy the progress and share the thrill with fellow digital explorers.
FAQ
How to improve YouTube live stream quality?
Improving YouTube live stream quality means using a wired connection, setting your upload speed to twice your target bitrate, and adjusting encoder settings with hardware encoding to reduce CPU load.
How to improve streaming quality and boost live streaming?
Boosting streaming quality involves checking network speeds, fine-tuning encoder settings, and using hardware acceleration. Monitoring your setup regularly helps reduce lag and maintain a smooth viewing experience.
How to increase stream bitrate?
Increasing stream bitrate is achieved by adjusting your encoder settings and verifying that your upload speed is at least double your desired bitrate for a clearer, more stable broadcast.
How to improve Twitch stream quality?
Improving Twitch stream quality involves using adaptive bitrate settings, matching your encoder setup with recommended bitrate ranges, and taking advantage of hardware acceleration to maintain a crisp, reliable feed.
How to optimize PC for streaming?
Optimizing a streaming PC means using dedicated hardware resources like fast storage and ample RAM, keeping drivers updated, and possibly using a separate computer for encoding to keep the broadcast smooth.
How to make my stream look better and stop it from being pixelated?
Making your stream look better means fine-tuning resolution and bitrate settings, applying adaptive bitrate streaming, and regularly testing your transmission to maintain sharp visuals without pixelation.
How to improve performance while streaming and make a live stream less laggy?
Improving streaming performance involves monitoring CPU and GPU load, using hardware encoding, and managing network traffic with backup links to reduce lag and maintain a steady, responsive broadcast.
How to stop live streams from buffering?
Stopping buffering in live streams relies on verifying sufficient upload speeds, fine-tuning adaptive bitrate settings, and running pre-stream tests to catch issues like packet loss and network jitter before going live.

