
Have you ever had your stream suddenly lose quality right when it matters most? It’s like your whole setup is letting you down at the worst moment.
In this guide, we’re sharing simple tips to check your internet speed, clean up your device, and adjust your settings for a smoother broadcast. Think of it as fine-tuning your favorite song so every beat keeps your audience hooked.
Troubleshooting Live Stream Problems: Step-by-Step Diagnosis & Fixes
Take a deep breath and tackle your live stream issues one step at a time. First, check your internet speed by running a test with your favorite app. Compare your upload speed to what your stream requires. If things seem sluggish, try switching from Wi-Fi to a wired Ethernet connection for a steadier signal.
Next, peek at how your device is performing. Open your task manager and keep an eye on your CPU and memory use. If your system seems overwhelmed and your video stutters, close any background apps that aren’t essential during the stream. Adjusting your encoder’s bitrate settings can also help smooth out buffering issues.
Also, make sure your audio and video are in sync. Sometimes a slight delay can throw things off. A quick fix is to add a small delay (about 100-300 ms) to your audio track in your streaming software, which often brings everything back into harmony.
| Aspect | What to Do |
|---|---|
| Internet Speed | Run a speed test to ensure a fast, stable upload |
| Hardware Load | Monitor CPU and memory usage and close unnecessary programs |
| Encoder Settings | Adjust bitrate and resolution to match your system’s performance |
| Audio Sync | Add a slight delay to the audio track for better synchronization |
Remember, every streaming setup is unique. Play around with these steps until you strike the right balance. Troubleshooting is a bit like tuning your favorite instrument, when everything aligns, you get that perfect mix of clear video and crisp audio that makes your live stream shine.
Hardware & Network Checks for Stable Live Streams
Start by checking your computer’s CPU and GPU with your task manager or a tool you trust. Make sure your processor has enough cores and threads to handle your live stream. For instance, if your CPU is working over 80% when you’re streaming, you might notice lag or missing frames.
Next, shut down any apps that don't need to be open during your broadcast. Fewer programs running means more power for your streaming, just like cleaning off your desk before starting a new project.
Also, take a moment to inspect your cooling system. Give your fans a quick clean, check that your air vents aren’t clogged with dust, and ensure your computer has plenty of room for airflow. Using a cooling pad for your laptop can really help, like a cool breeze on a hot day that keeps everything running smoothly.
Then, test your network by measuring your upload speed to see if it matches your stream’s bitrate needs. Run a trusted speed test and compare the numbers to your streaming software settings. It's a good idea to restart your router or update its firmware now and then. And if you can, plug in with an Ethernet cable instead of relying on Wi-Fi. This simple step can cut down on packet loss and keep your stream steady.
| Check | Action |
|---|---|
| Hardware Capability | Monitor CPU/GPU load and close unnecessary apps |
| Cooling | Clean fans, check vents, and use cooling pads when needed |
| Network Speed | Test upload speed, restart router, and use a wired connection |
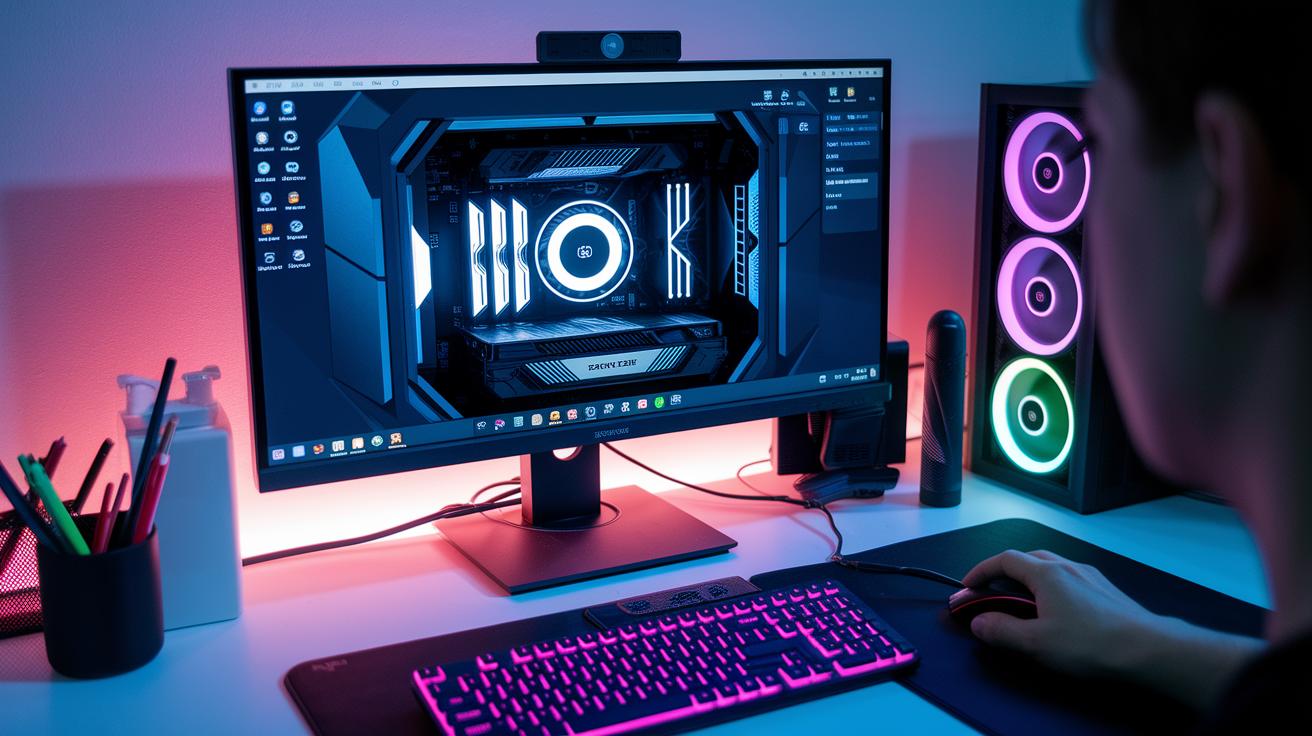
Configuring Streaming Software & Encoders for Live Streams

When setting up your encoder, make sure you pick the right resolution for your stream. If you’re streaming in 1080p, try to keep your bitrate between 3,000 and 6,000 kbps and set your keyframe interval to 2 seconds. For example, you might end up with settings like 1080p resolution, 4500 kbps bitrate, and a 2-second keyframe interval, just the right mix for clear, smooth video.
Next, take a minute to fix any audio and video sync issues by adding a delay of 100 to 300 milliseconds. In OBS or Streamlabs, this little tweak lines up your mic audio with your camera feed perfectly. You might see something like “Audio Delay: 150 ms” in your settings, which helps ensure your voice matches your visuals without any awkward lag.
Managing scenes and sources is key for a flawless live broadcast. Keep things simple by reducing the number of active sources and transitions, kind of like choosing the best instruments for your favorite song. Double-check that you’ve selected the right microphone and desktop audio options to avoid any mix-ups. And hey, if you’re adding overlays or guest feeds, turning off unused layers can really lighten the load on your system.
Also, disable any manual stream delay on your broadcasting platform. This step cuts down on lag when you’re engaging with your audience live. If you ever need a bit more guidance, check out the instructions on How to Live Stream Events.
Finally, always update your streaming software to the latest version. Updates often fix bugs that might cause buffering or dropped frames, so keep an eye out for notifications and apply fixes as soon as they pop up.
By fine-tuning these settings, you’ll tackle issues like buffering, sync errors, and quality drops, letting your live stream run as smooth as your favorite live performance.
Protocol & Server Troubleshooting for Live Stream Stability
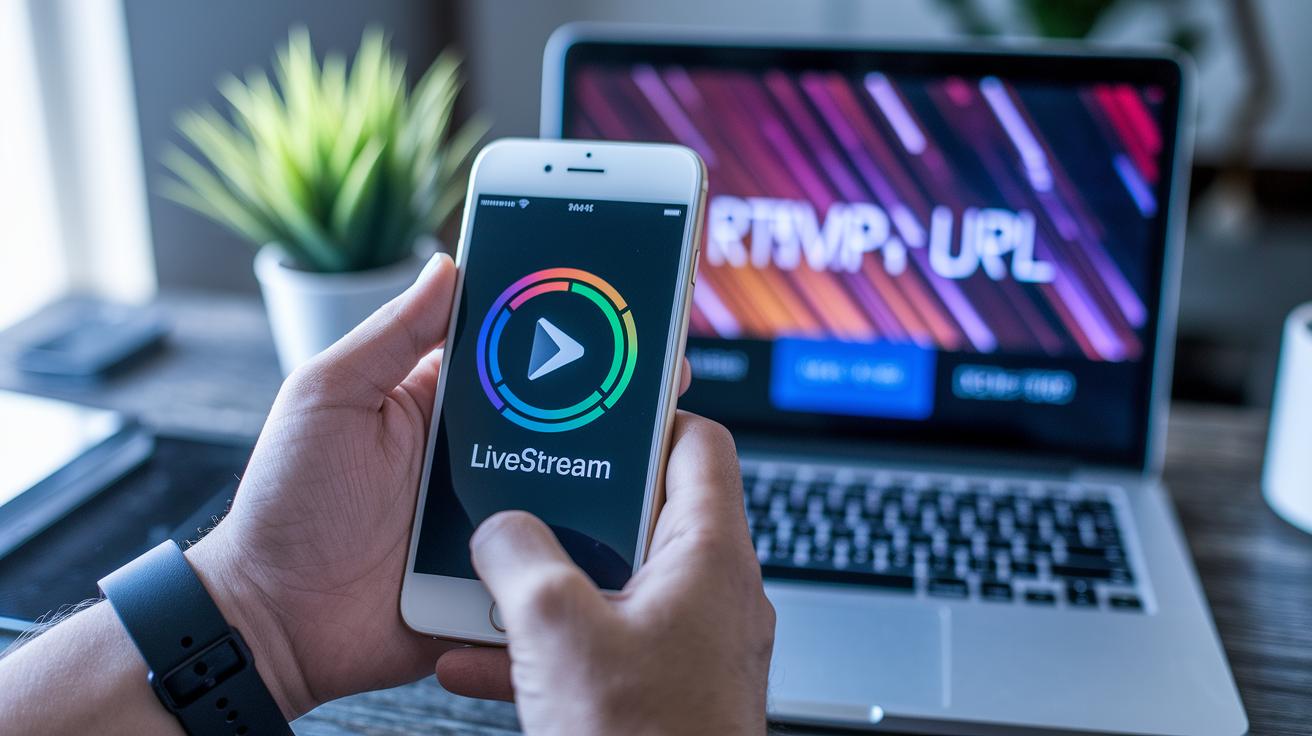
Start by checking your RTMP URL and stream key. It’s super easy to mix up details like these, which can mess up your live show. Make sure your stream key matches exactly what your platform provided, like if it should be “stream123”, type it exactly that way.
Then, double-check that your encoding resolution fits your broadcast needs. Think of it like setting up a picture-perfect scene: if you're aiming for a 16:9 ratio at 1920×1080, getting this right stops issues like missing frames or blurry visuals. If things seem off, take a moment to peek at your server logs for RTMP hiccups. Often, these logs hint at quick fixes.
Next, it helps to turn off any built-in latency or DVR features in your settings, cutting down on delay. Also, give your CDN a quick once-over, make sure the edge-server connections are solid, clear out any old caches if needed, and restart your streaming processes if delays pop up. This proactive check keeps your live event flowing smoothly.
| Action | Outcome |
|---|---|
| Check RTMP URL & Stream Key | Avoids connection errors |
| Match Encoding Resolution | Keeps frames steady |
| Monitor CDN Health | Ensures a smooth live feed |
Optimizing Network Performance for Live Stream Reliability
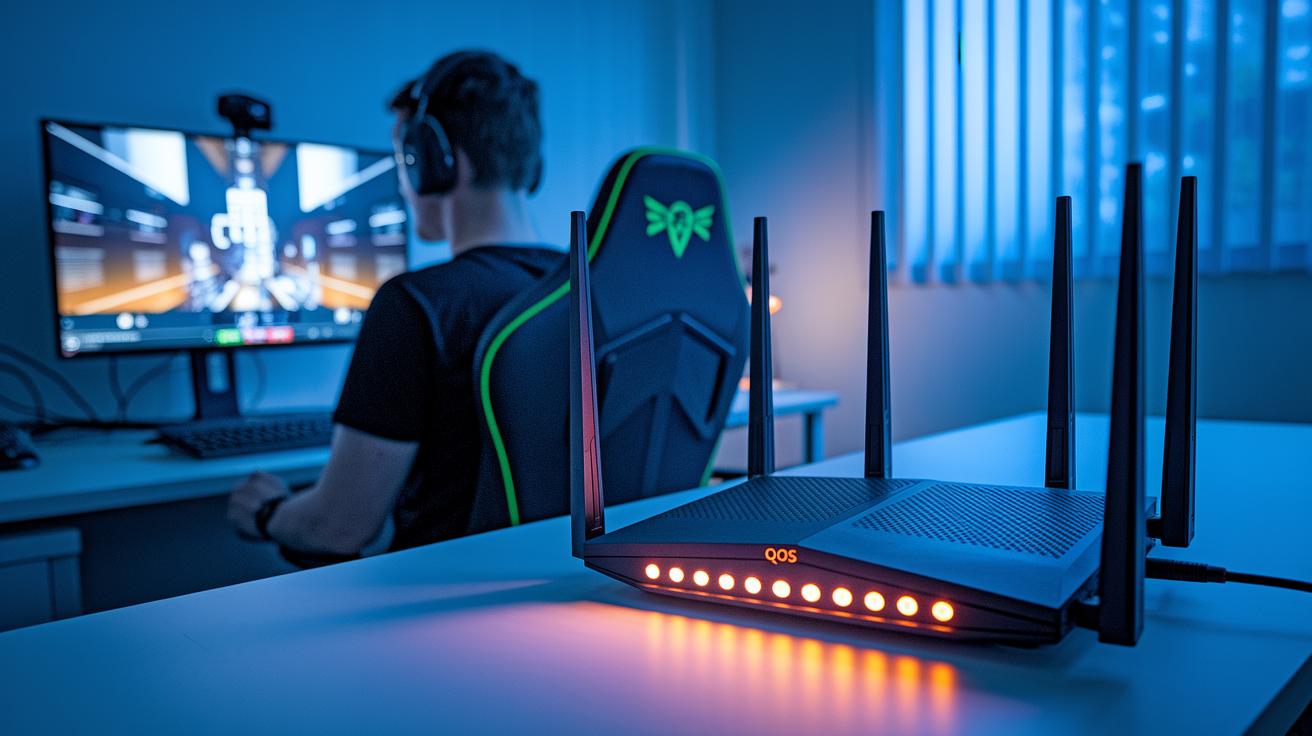
When your upload speed drops, try lowering your bitrate (the data sent each second) and resolution (how clear the picture is) to match what your network can handle. This simple tweak keeps your stream steady, even when your connection isn't at its best.
You can also set up router QoS rules to give your streaming traffic a boost over other internet activity. Using dedicated streaming ports further adds a layer of stability. And hey, running a few tests, like uploading continuously for a while, can really help you spot any speed hiccups during your live broadcast.
Keep a close eye on your internet service by testing your upload several times and jotting down any drops in speed. If you notice a pattern of sluggish or unstable connections, it might be time to call your provider for help. Plus, planning for unexpected network issues can save your show; having a mobile hotspot or a backup connection ready means you won't miss a beat when problems pop up.
| Strategy | Action |
|---|---|
| Bandwidth Management | Lower bitrate/resolution, use QoS rules, assign streaming ports |
| ISP Collaboration | Run tests, track speed changes, contact provider if needed |
| Redundancy Planning | Set up a mobile hotspot or backup connection |
Advanced Tools & Practices for Live Stream Troubleshooting

When you're fixing OBS streaming issues, start by checking out the OBS Stats panel. It keeps an eye on frame drops, encoder lag, and network health right as it happens. Imagine you're watching the stats and notice a sudden rise in dropped frames because your CPU is getting overloaded. A quick scene restart might solve the problem before it grows into something bigger. These handy stats help you spot connection glitches early so you can adjust your settings on the fly.
Next, give network monitors a try. These tools catch little hiccups like packet loss and jitter that can lead to buffering problems. Picture yourself seeing a tiny delay on your network monitor, which clues you in to tweak the bitrate just in time. And don’t forget about your streaming setup, good lighting and a few acoustic panels not only make your video look sharp, they also cut down on echo that might mess with audio syncing. Keep a few ready-made scene restarts in your lineup so troubleshooting becomes a smooth, repeatable routine.
| Tool/Practice | Benefit |
|---|---|
| OBS Stats Panel | Helps you keep track of frame drops and delays as they happen |
| Network Monitors | Spot packet loss and jitter to prevent buffering issues |
| Optimized Environment | Enhances video clarity and audio quality with proper setup |
Final Words
In the action, we covered clear ways to get your live stream back on track. We examined quick checks like testing network speed, ensuring your hardware is up to the task, and tweaking encoder settings to fix common issues. Each step offers a practical live streaming troubleshooting guide to help you resolve buffering and sync issues fast.
By following these steps, you can keep your online event running smoothly and share those memorable moments with ease.
FAQ
Q: How do I fix live streaming problems and streaming issues on TV?
A: The live streaming issues can often be resolved by first checking your network speed, hardware usage, and encoder settings. Running an internet test or switching to a wired connection may help keep the stream smooth.
Q: Why can’t I livestream on YouTube mobile and why is YouTube live stream not working on Android?
A: The mobile livestream failures usually happen due to app updates, permission issues, or weak networks. Updating the app, adjusting permissions, or switching your connection can get your mobile streaming back on track.
Q: How do I fix the error when live streaming isn’t available right now?
A: The error message about live streaming being unavailable might be caused by platform glitches or misconfigurations. Checking your account settings, restarting your encoder, and verifying your stream key can solve the issue.
Q: Why is my live stream not showing on my YouTube channel or why do I get an error creating the live broadcast on YouTube?
A: The broadcast not appearing may result from incorrect stream keys, privacy settings, or account restrictions. Verifying your YouTube live setup and ensuring your stream settings are correct can resolve the problem.
Q: Why does my live stream keep cutting out and how do I stop buffering?
A: The live stream cutting out or buffering often stems from network slowdowns or overloaded settings. Lowering your bitrate, using a wired connection, and adjusting encoder parameters can help maintain a smooth stream.

